Windows / Fans / Insulation / Walls / Flooring
The way to make an RV comfortable is to insulate it. As hard as you may try to seek out good weather, you’re still gonna end up with times and places and weather conditions that will put a damper on your adventure. If you insulate the best you can, it can make the difference between enjoyment and drudgery.
We need to insulate from the cold or hot outside, as well as from outside noise while driving and camping. And we must be aware of how much weight we’re adding, trying to achieve these goals. By far, the all-time biggest thermal breach in most all RV’s, the place that we lose (or gain) the most heat from outside, is through the windows. Having many single pane windows make RV’s extremely hard to heat or cool, they condense water that drips down onto the walls, and they also let in unwanted outside sounds.
So fewer, and especially dual-pane windows is the best strategy, and as long as they are positioned optimally, you won’t have a closed-in claustrophobic feeling just to avoid the bad weather. We decided on just two, large dual-pane windows from Seitz, the world-wide leader in RV windows. We positioned them across from each other, at the dinette table/bed area for great views and wonderful cross-breezes! There really wasn’t a need for any other windows in the back, except possibly at the galley to see out while cooking, and we solved that another way!
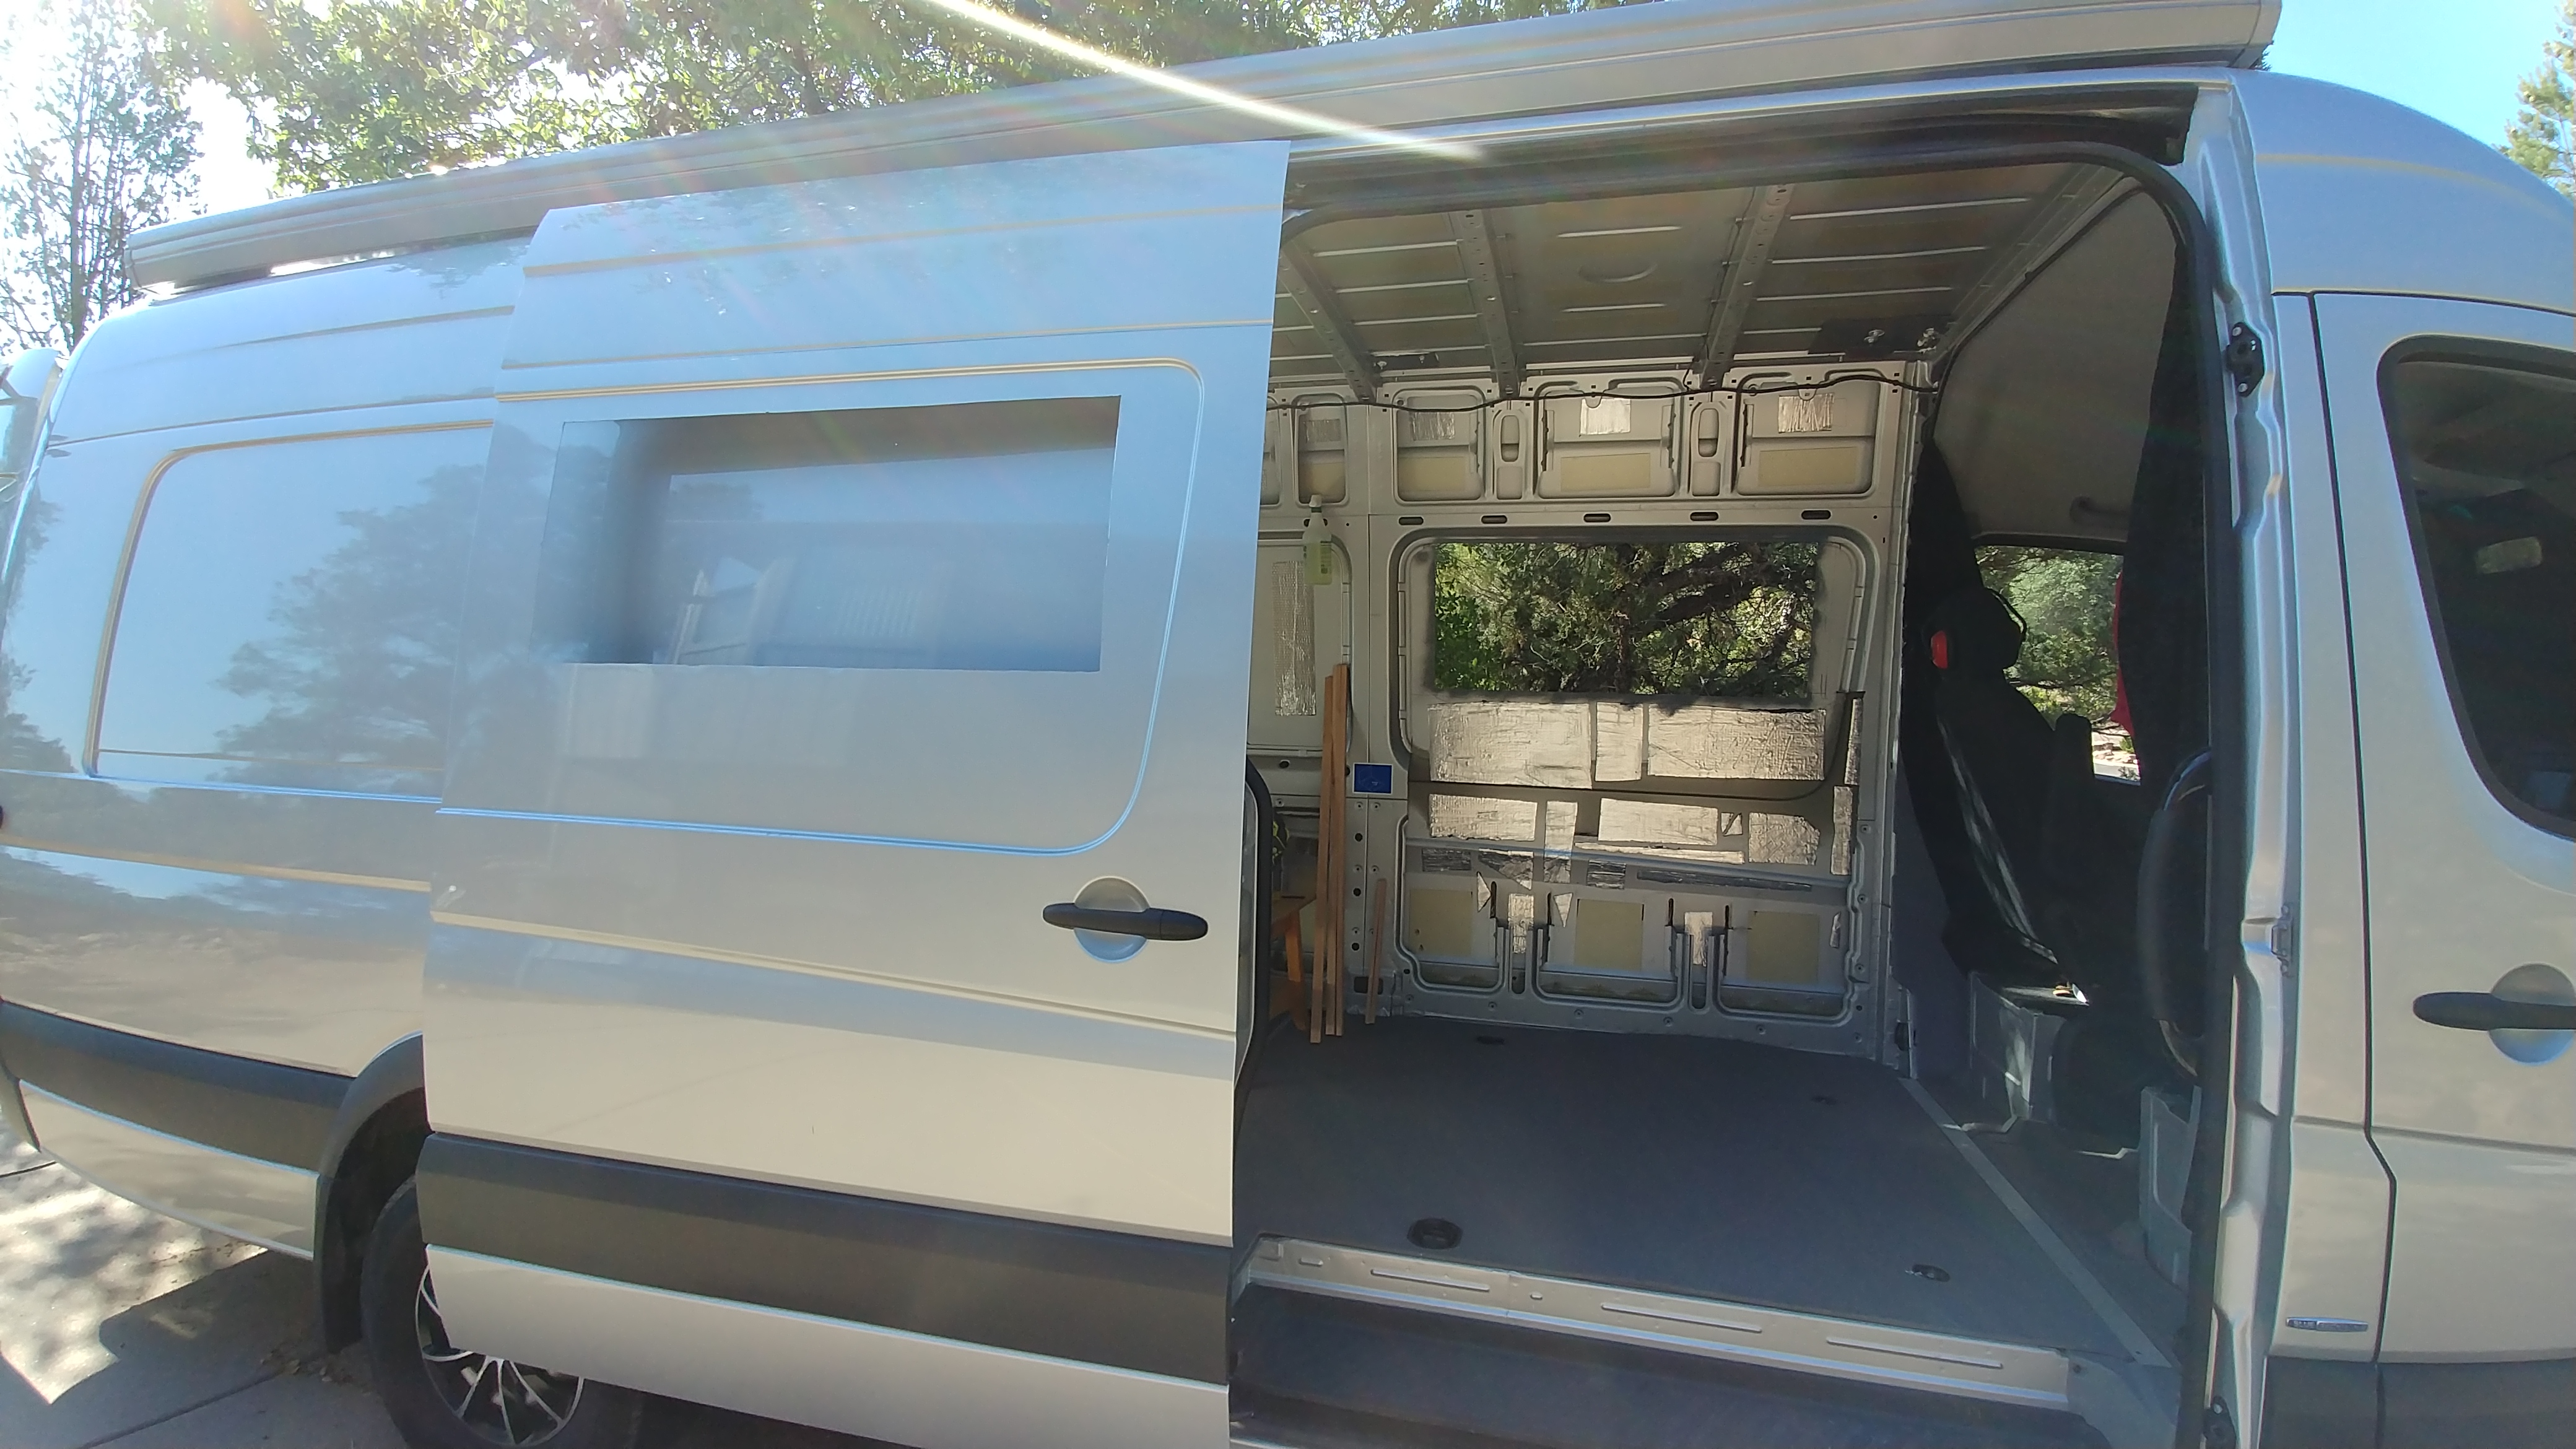
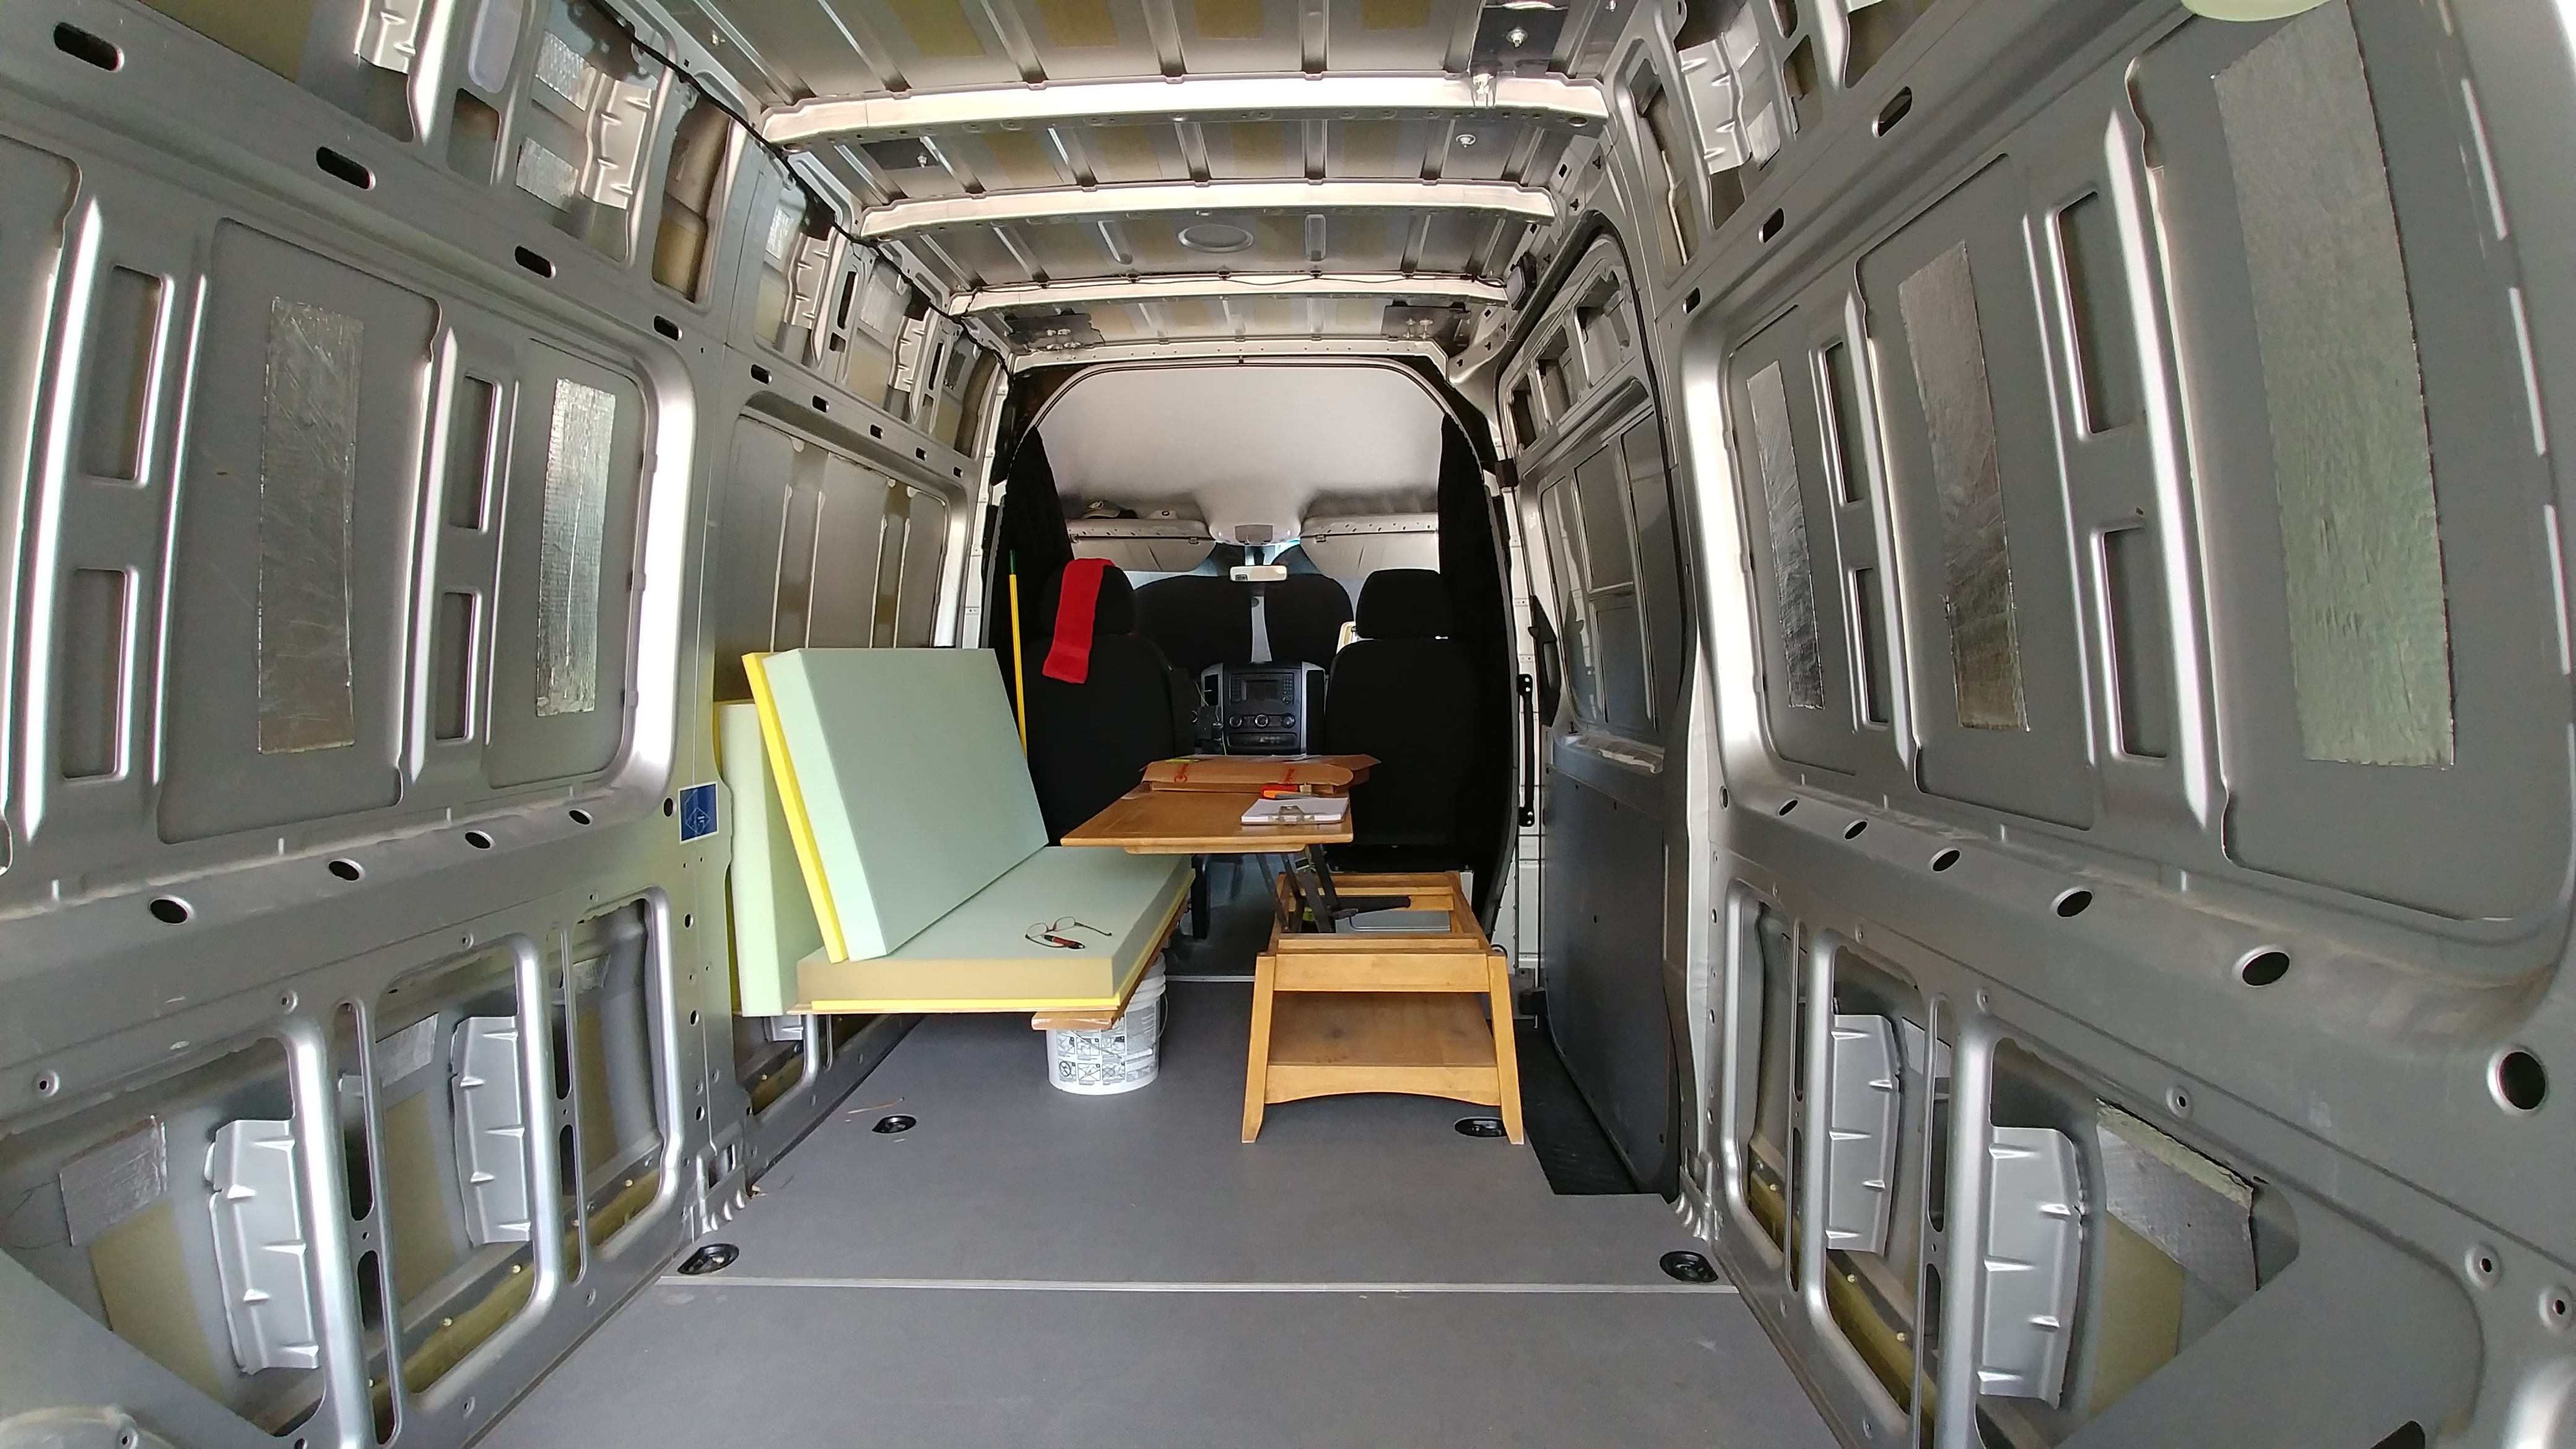
The first picture shows the mock-up of the seats and table. This was important to design and consider first before being able to know where, and even how large, the window should be. So, everything really has to be planned together from the start. The second pic, above, actually shows the windows and extra firring strips allready in, so these are a little out of order, but you can see in this pic how the two windows are just across from each other for good cross-breeze, and, although you can’t tell here, I put the window on the door about 1″ lower than the other one, in order for us to be able to see more scenery out thru it when sitting at the table but needing the door closed as in inclement weather, etc.
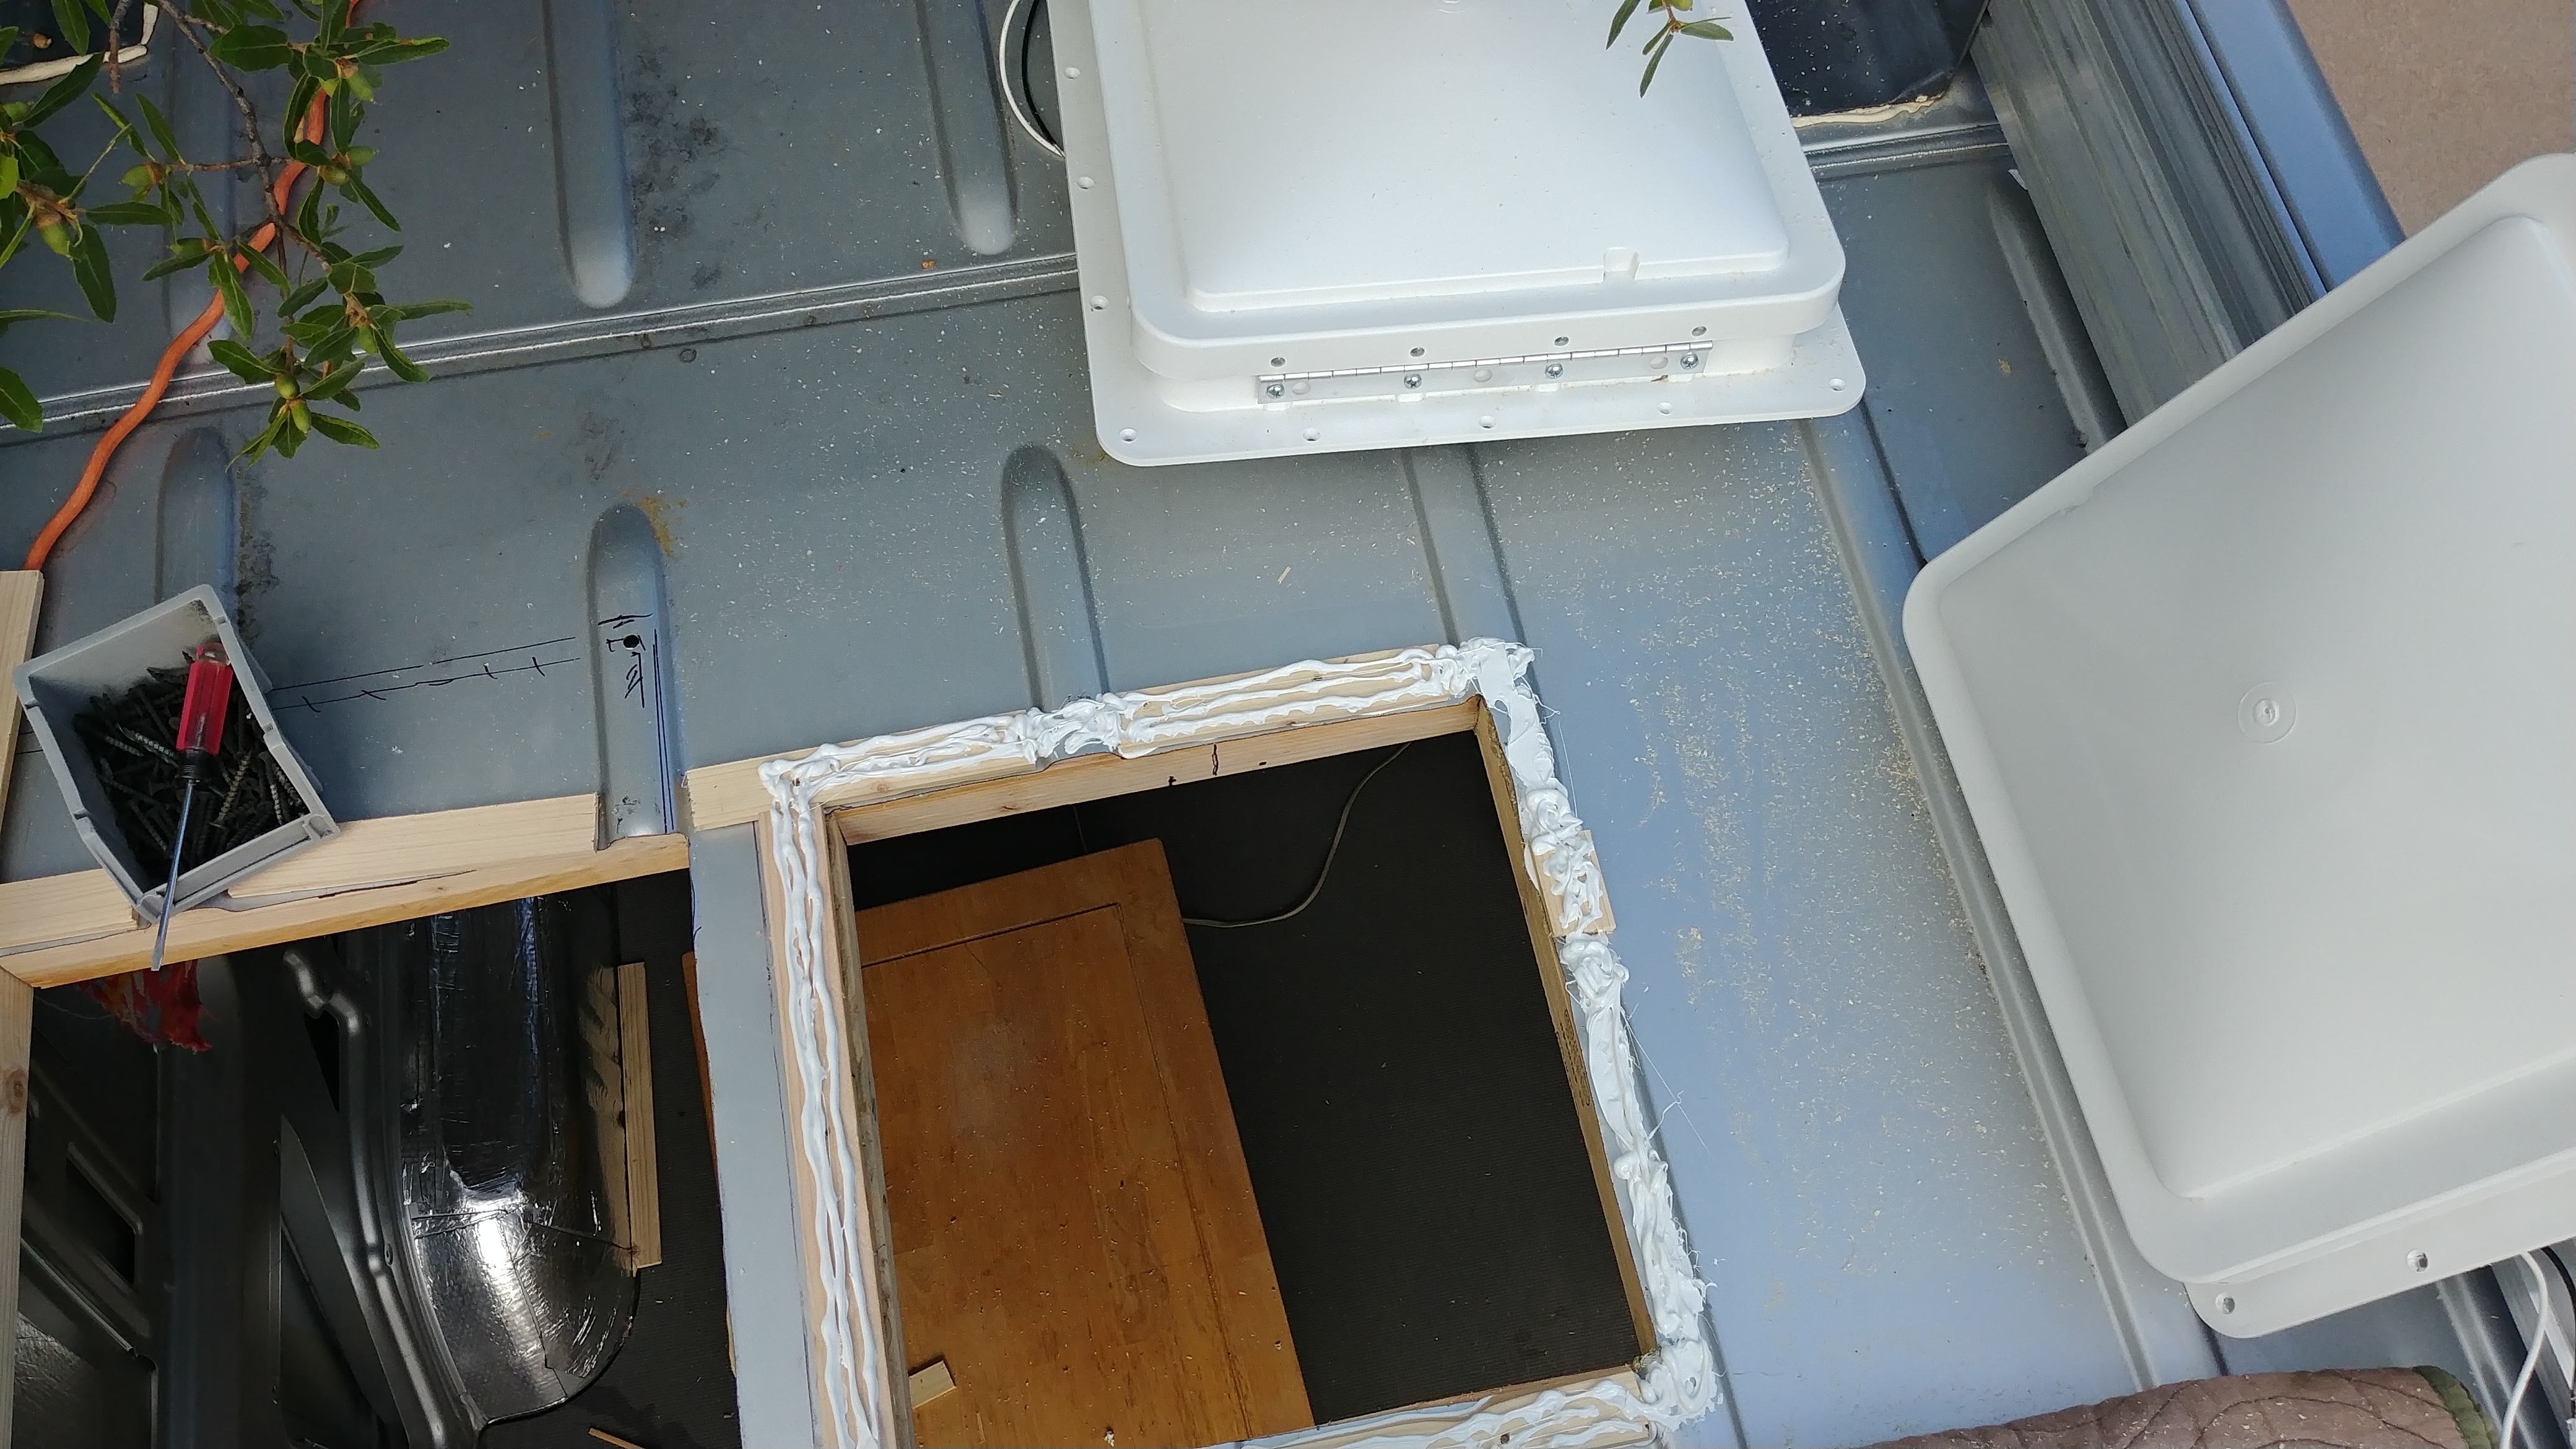
These are the two Fantastic brand roof vent fans being installed. One in the main hallway, and another in the bath room. Both are the full-featured model with 10 speeds, reversible, thermostats, rain sensors, and remotes. These are pricey at near $400 retail, but if you shop them hard, (or have a wholesale account like we did at Camping World), you can get them as low as $200 ea. I also bought the white domes for them, as they only come with smoked, thinking they were white but still transluscent and would let light in (but not hot UV rays), however, they don’t, and are quite opaque. So I think I’ll put the smoked domes back on and have the benefit of the sunlight. We didn’t get Maxxairs or rain hoods for these because we wanted a low profile roof line, and these were too close together as well.
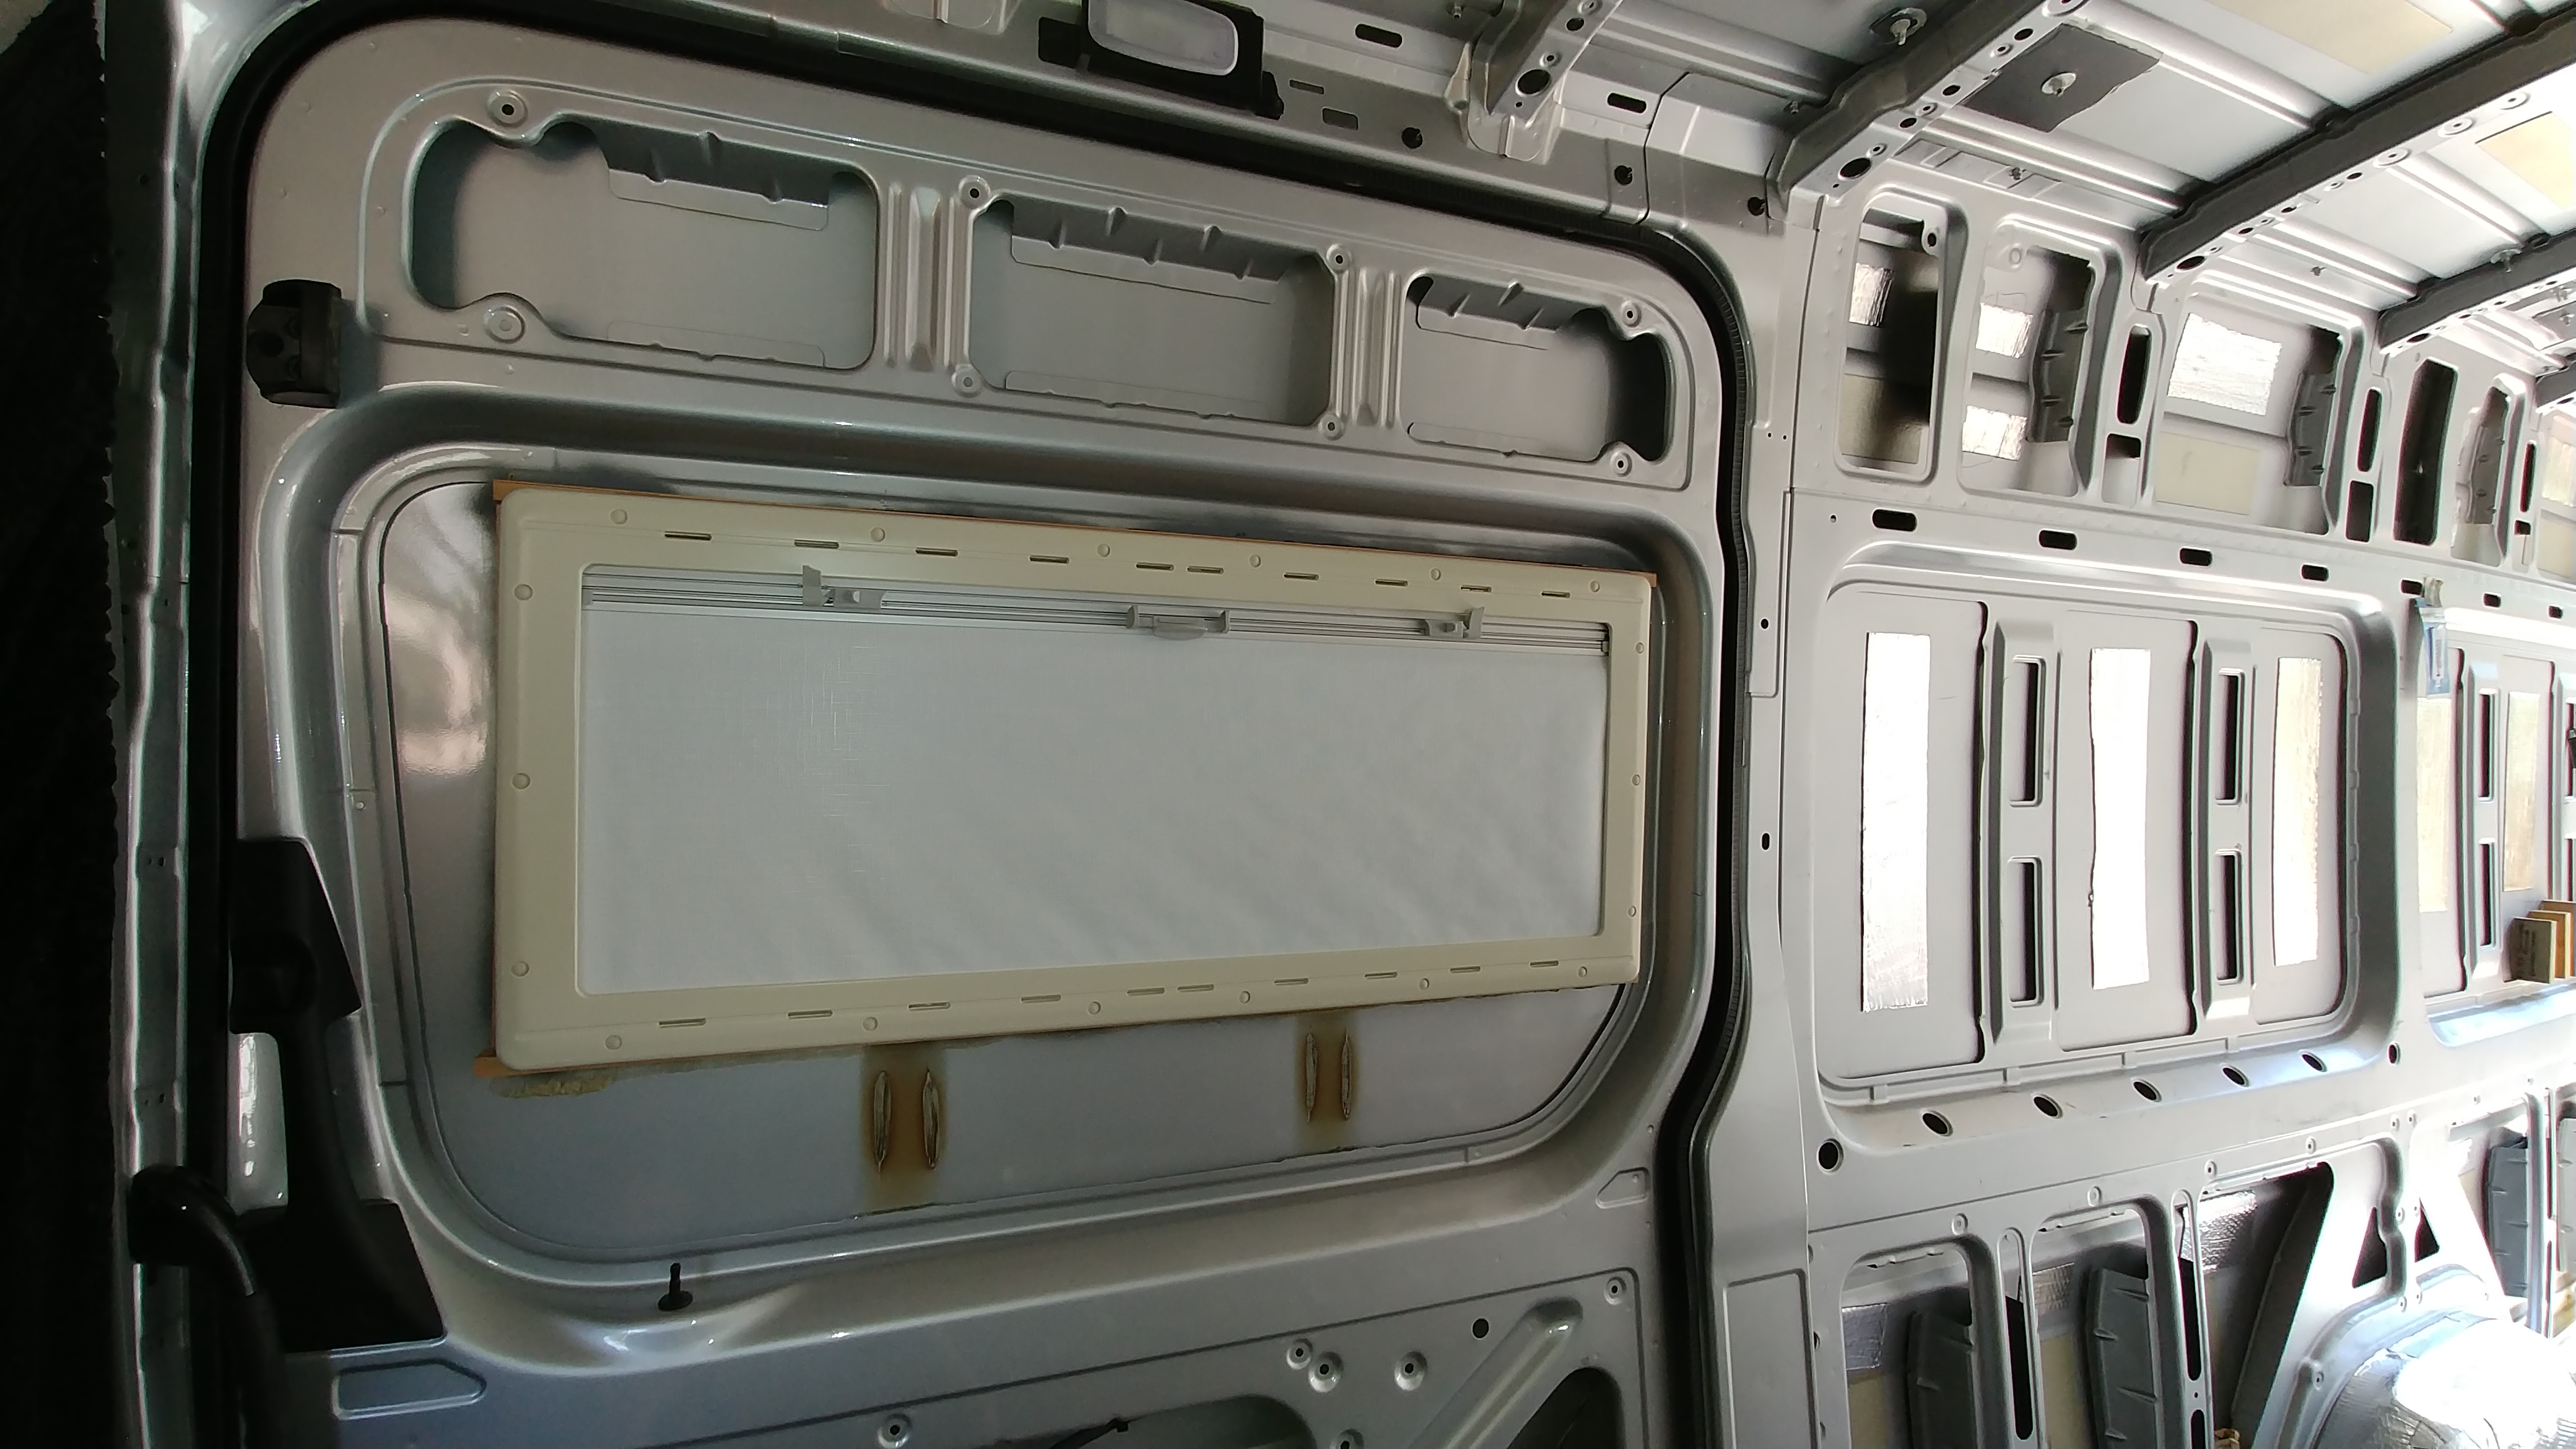
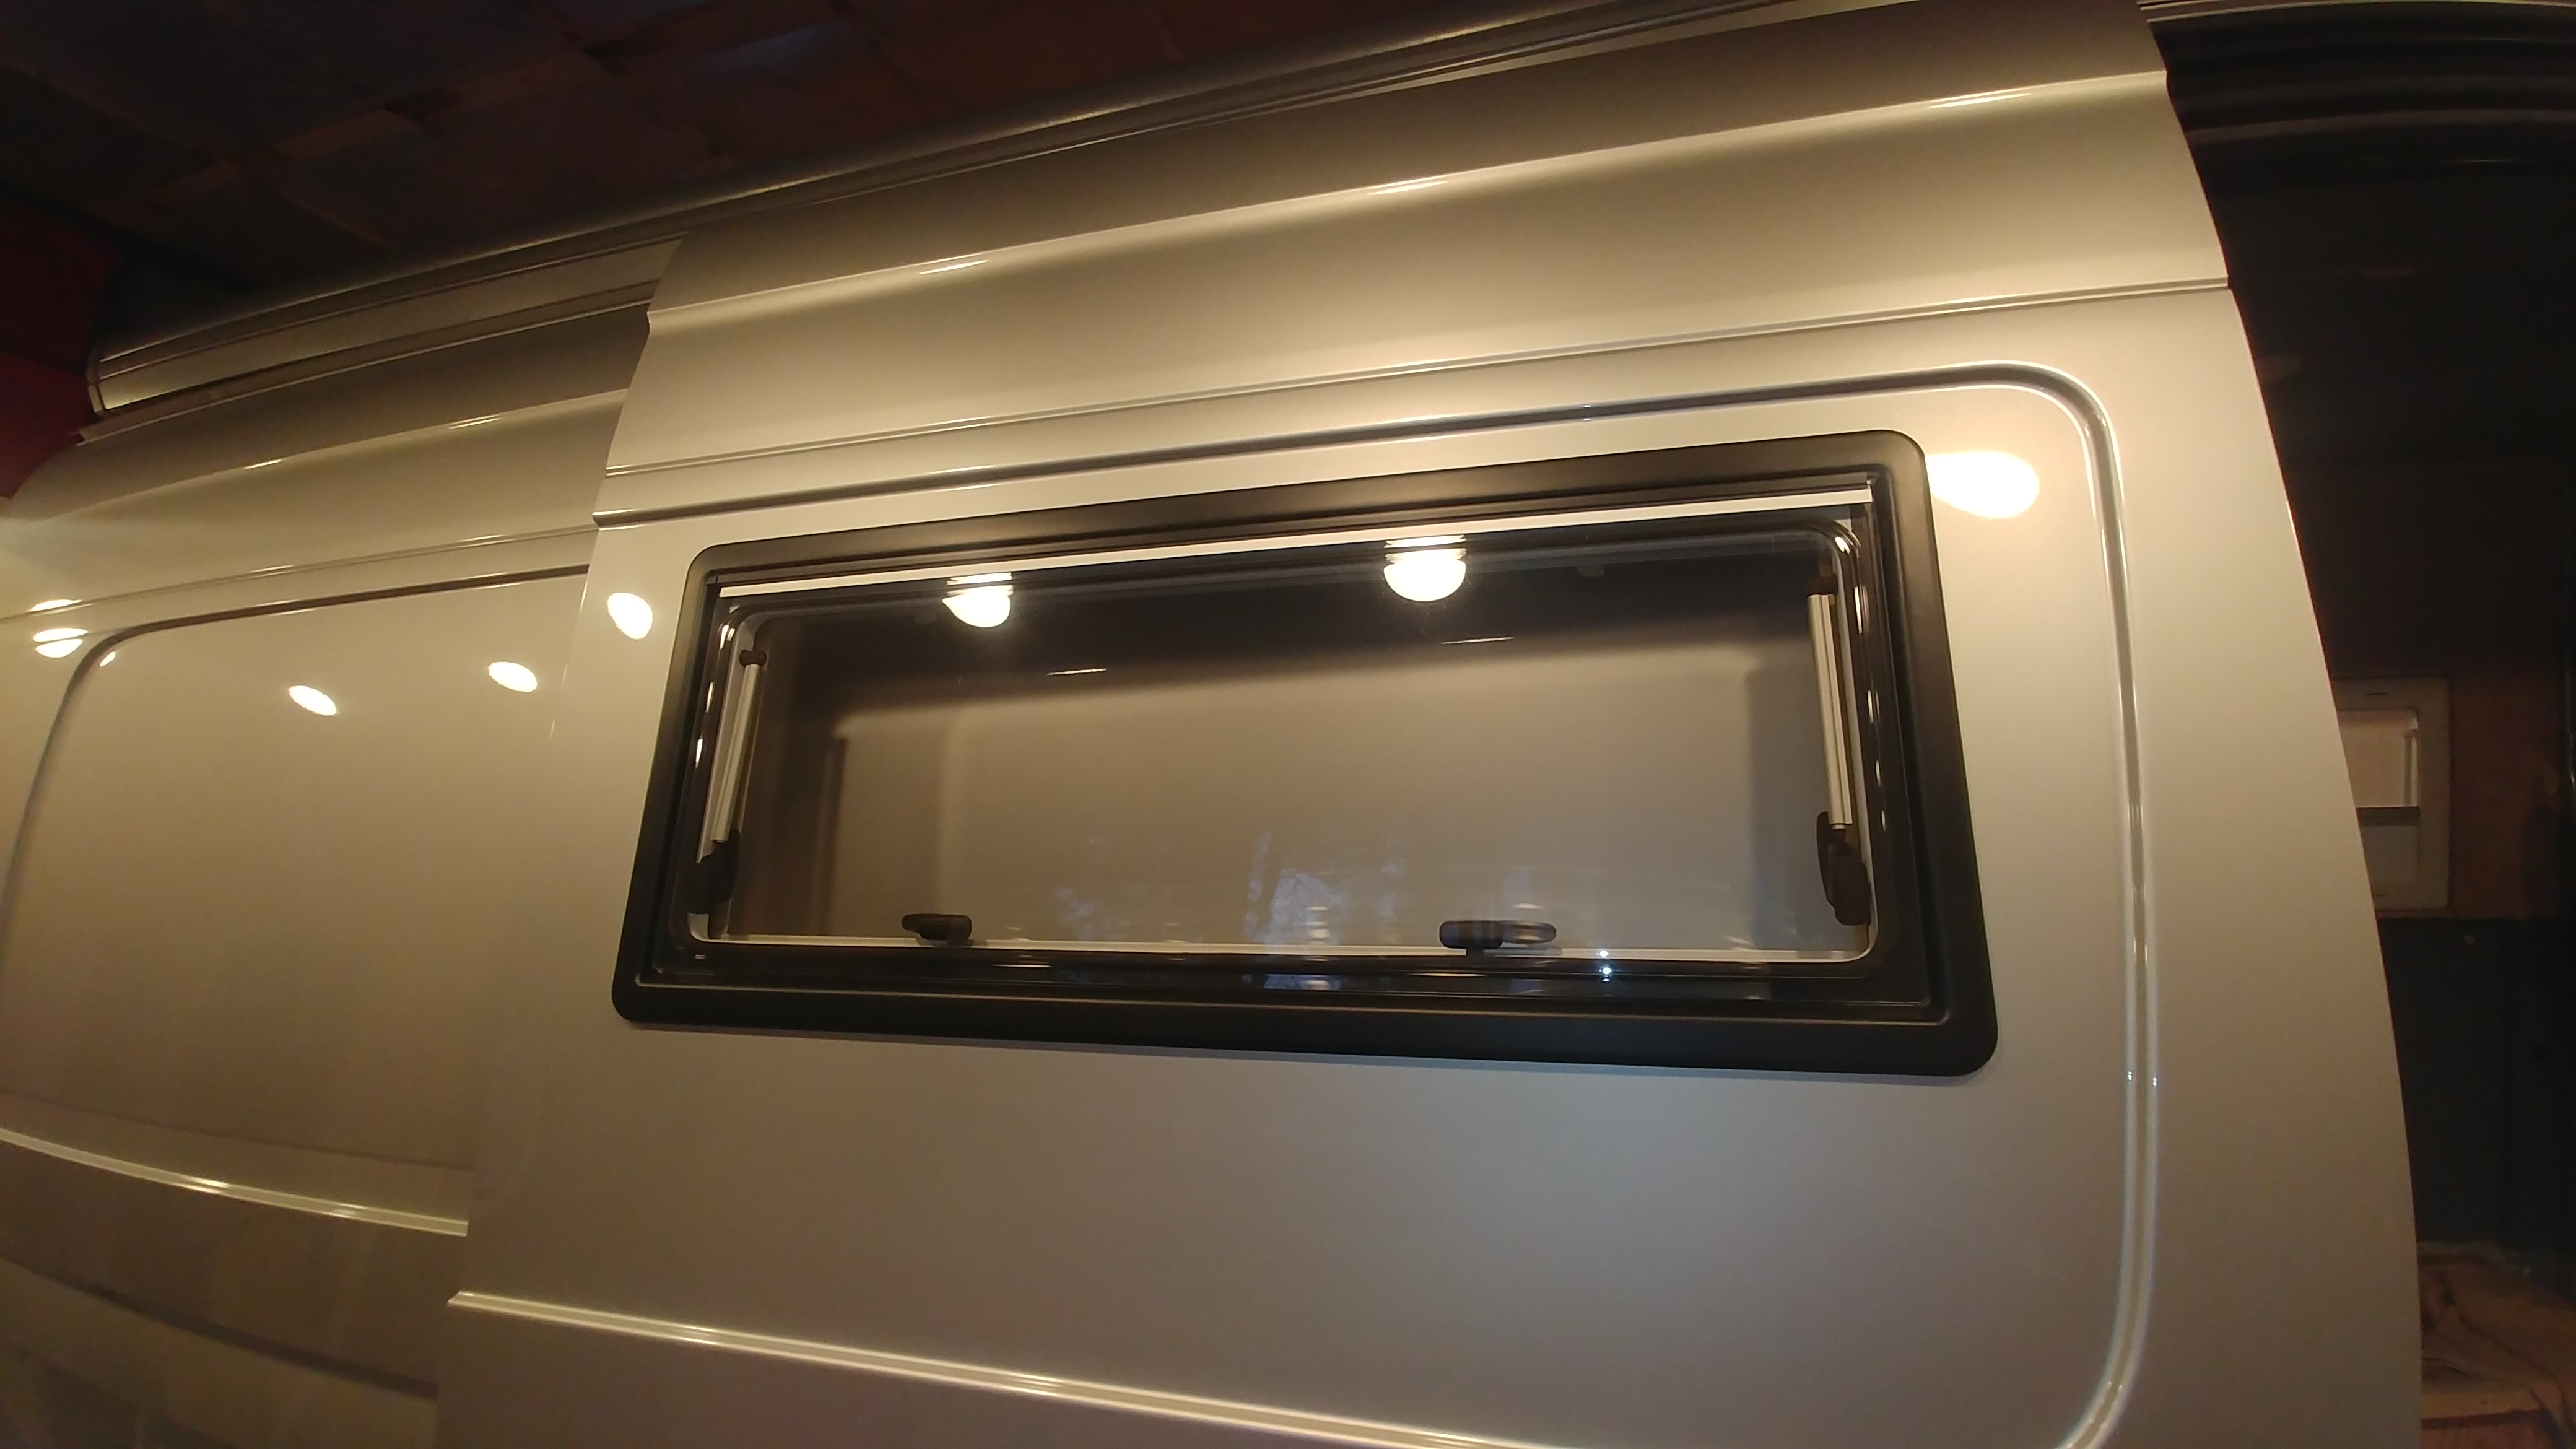
So these are the Seitz windows, and we just love them. First of all, they’re dual pane, which is a huge advantage for any RV. Thermal loss and condensation are a giant annoyance when camping, and dual pane all-but solves both of these. Secondly, The seitz type windows vent FULLY, I mean, the entire size of the window opens fully to a breeze-thru, even when there may not be much of a breeze at all. And because they “tent out” they can be opened when it’s raining, which is very nice on a warm summer rainstorm when you want the cool without the wet. They are molded acrylic plastic, which means they’re less weight to help reduce GVWR as well as lower center of gravity, and a slightly flexible frame for curved sides of vans. They are a little more suceptible to scratching, but careful cleaning (turning rag) and the new buff-out polish products make it sustainable. The big advantage is that they can’t ever ‘blow their seals’ the way other, glass dual pane windows do especially on RV’s due to elevation changes, which then makes them ‘foggy’ and dirty on the inside, forever.
(detail on why we used spray foam over other types of insulation at bottom of page)
This video shows how we sprayed polyiso closed cell foam, after the windows, fans, and ALL wiring was in. Polyiso foam is by far the best insulator we have today, as this chart shows. All other types of insulation are half as good, or less (<R-4 instead of R-8 like polyiso). And, the additional advantage is that the spray foam can get into every little nook and cranny, thereby insulating even better. Also, the expanding foam completely fills the wall, sticking-to, and sealing right up against the metal of the van, elliminating the possibility of condensation forming inside the walls, which will cause rust. It costs about $785, but is so worth it to live inside of an igloo cooler! It also deadens sound, so, it elliminates the need for the ~$300, and time-consuming sound-deadener to be installed. (I wish I had known that!)
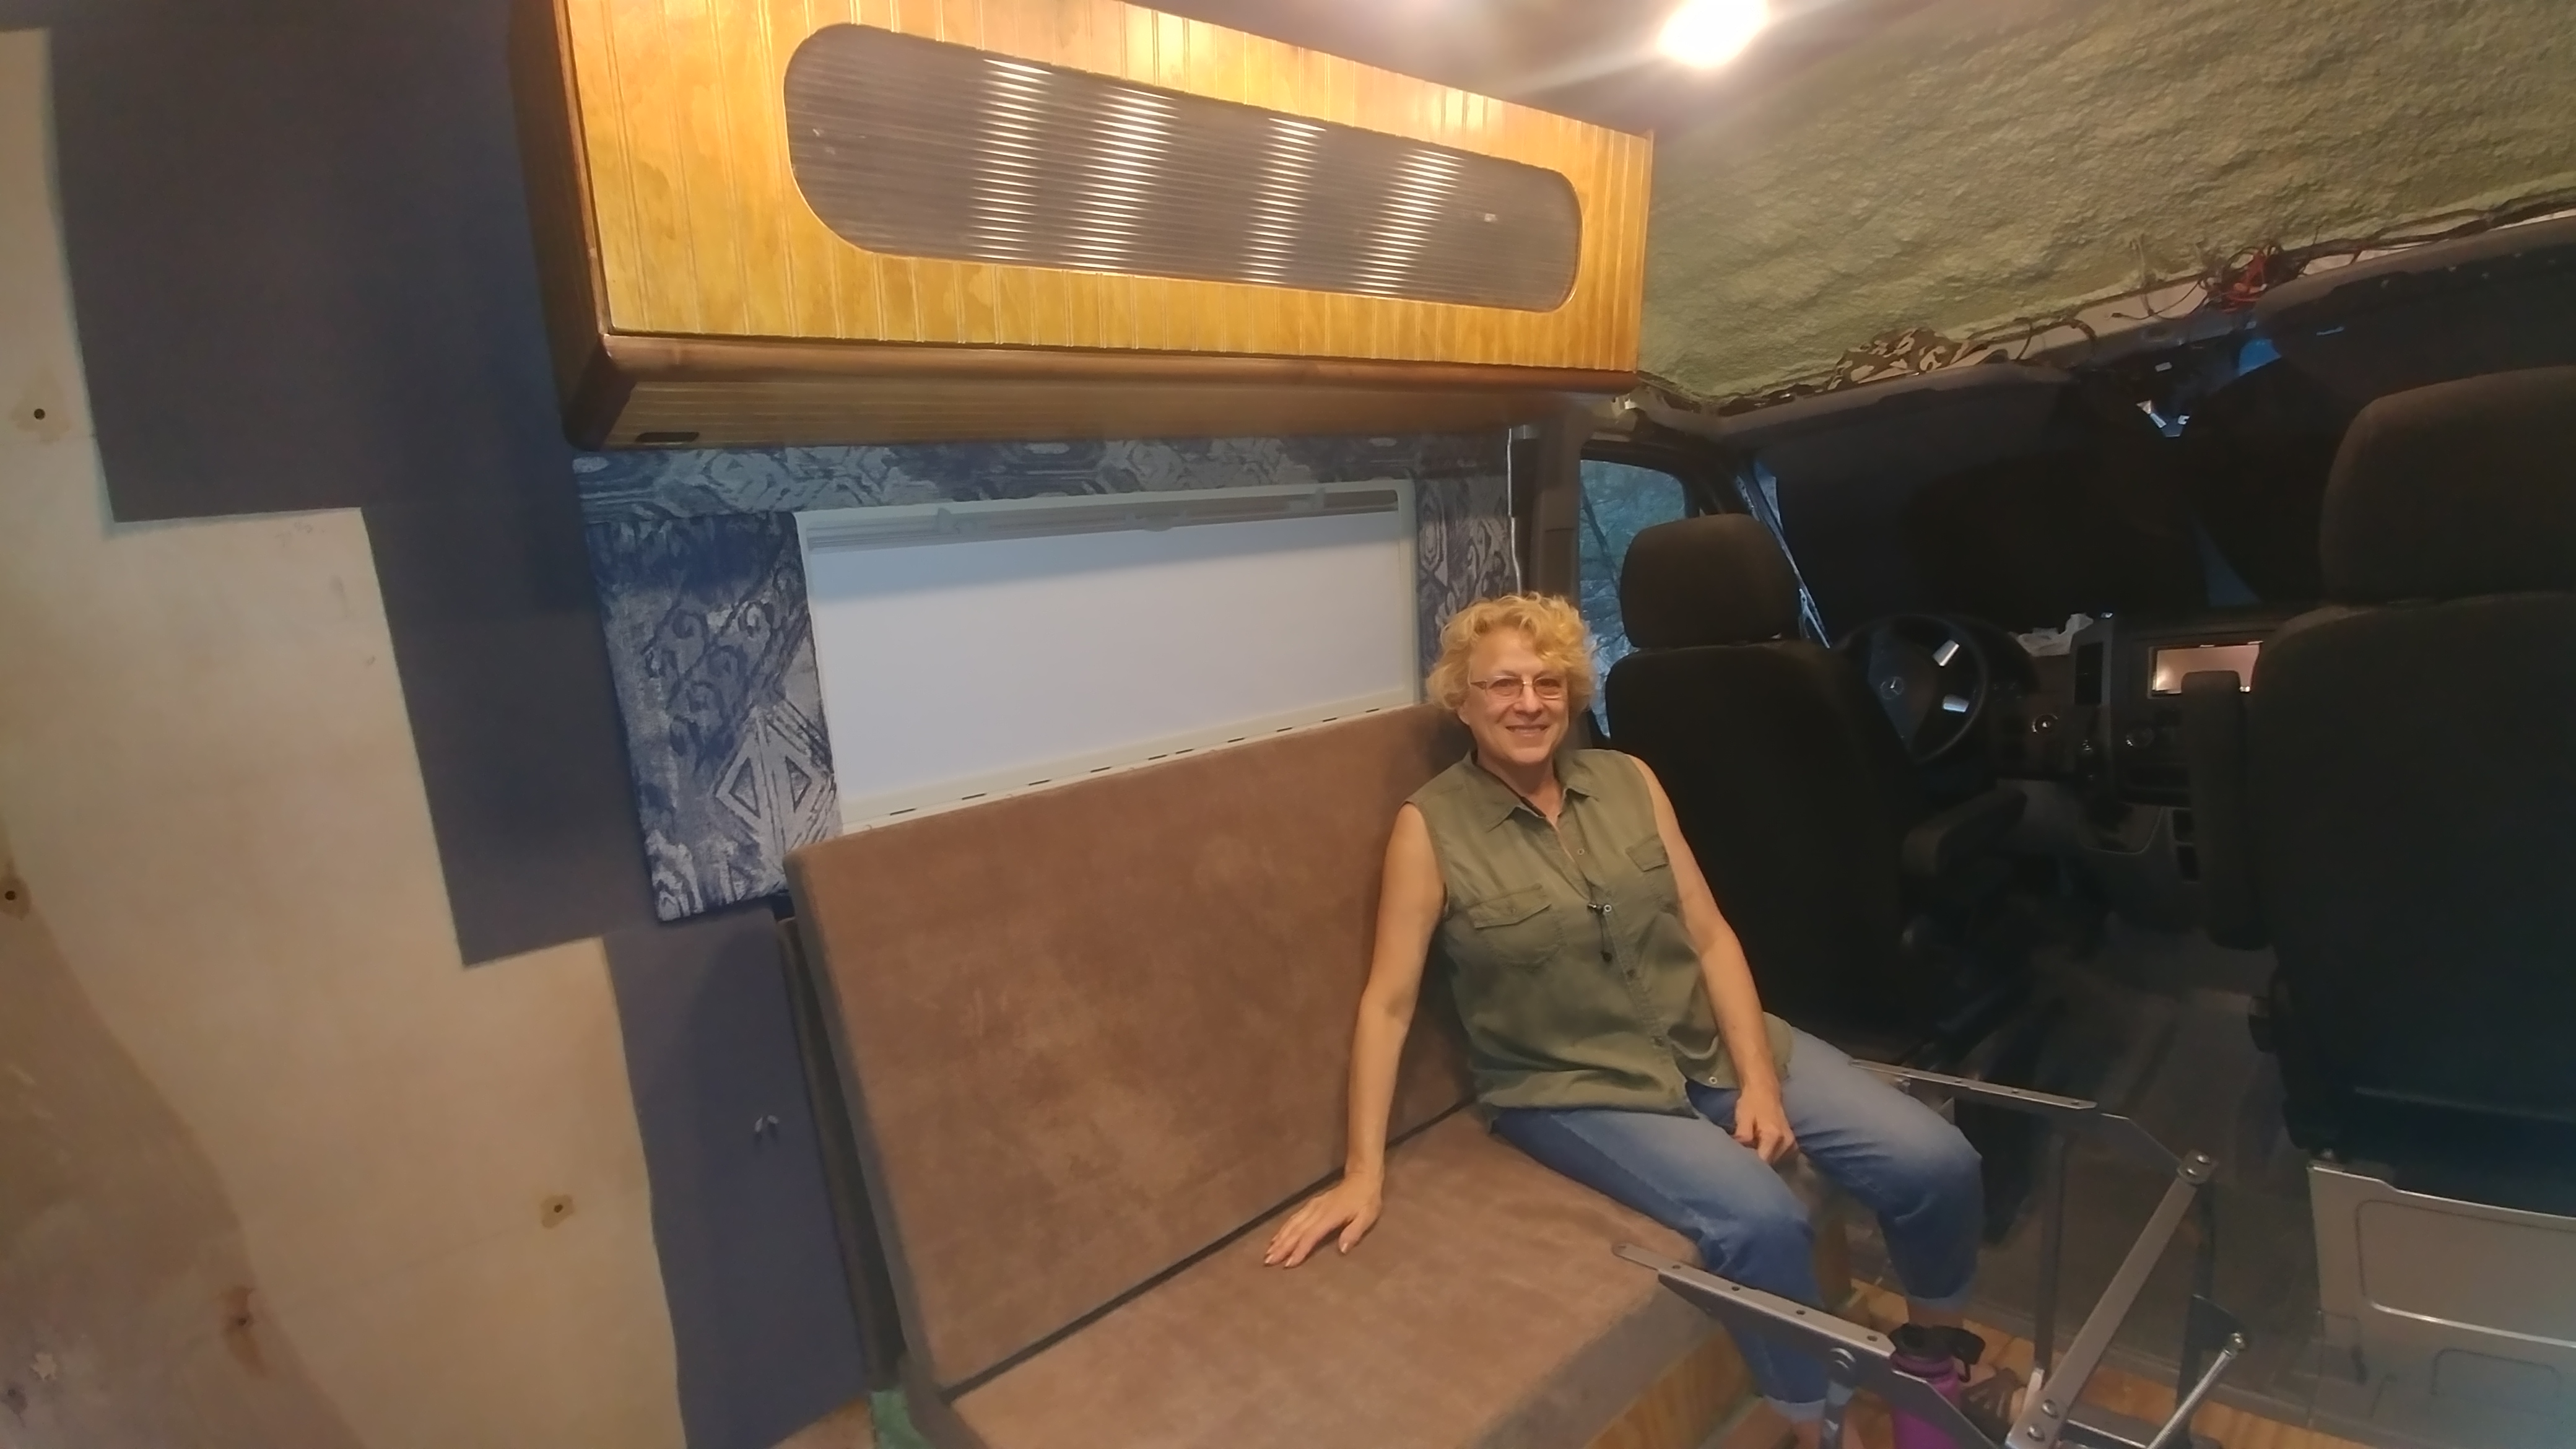
Some other great features of Seitz windows, and more undestanding on why they are on 70% of all RV’s in Europe, are the built-in roll-up bug screens and black-out shades. And a wonderful feature of the locking latch that provides a “windows-locked-while-vented 1/2” mode. You’ll notice that our back cushion comes right up to even with the window opening. That cushion had to be 2′ tall in order for the bed mode to work and the cushions to fit fully wall to wall. And the window could not be any higher due to the steel support beam on the wall. Every design element of each component is impacted by several others around it. The bench dimensions must be designed for optimum comfort, for possible days of sitting at the computer for hours. The table height was as critical. The padded fabric color splash window treatments were simply made onto very thin plywood backings, and then velcro’d into place around the window for easy removal for cleaning, etc.
The five doors were insulated with other materials due to lack of planning on my part. The spray foam kit did have enough in it for me to have done some sections of the doors, but I simply wasn’t prepped in those areas and didn’t make it happen. So the doors were insulated with a various mixture of Great Stuff spray cans of expanding foam which are very messy and drippy indeed, solid sheet panels of polyiso foam 1″ thick from Home Depot, and peel n stick 1/4″ thick flexible ‘sound/thermal’ foam rolls of material which I especially used in the front doors behind the roll-down windows, and in parts of the sliding door and rear doors anywhere near any mechanisms.
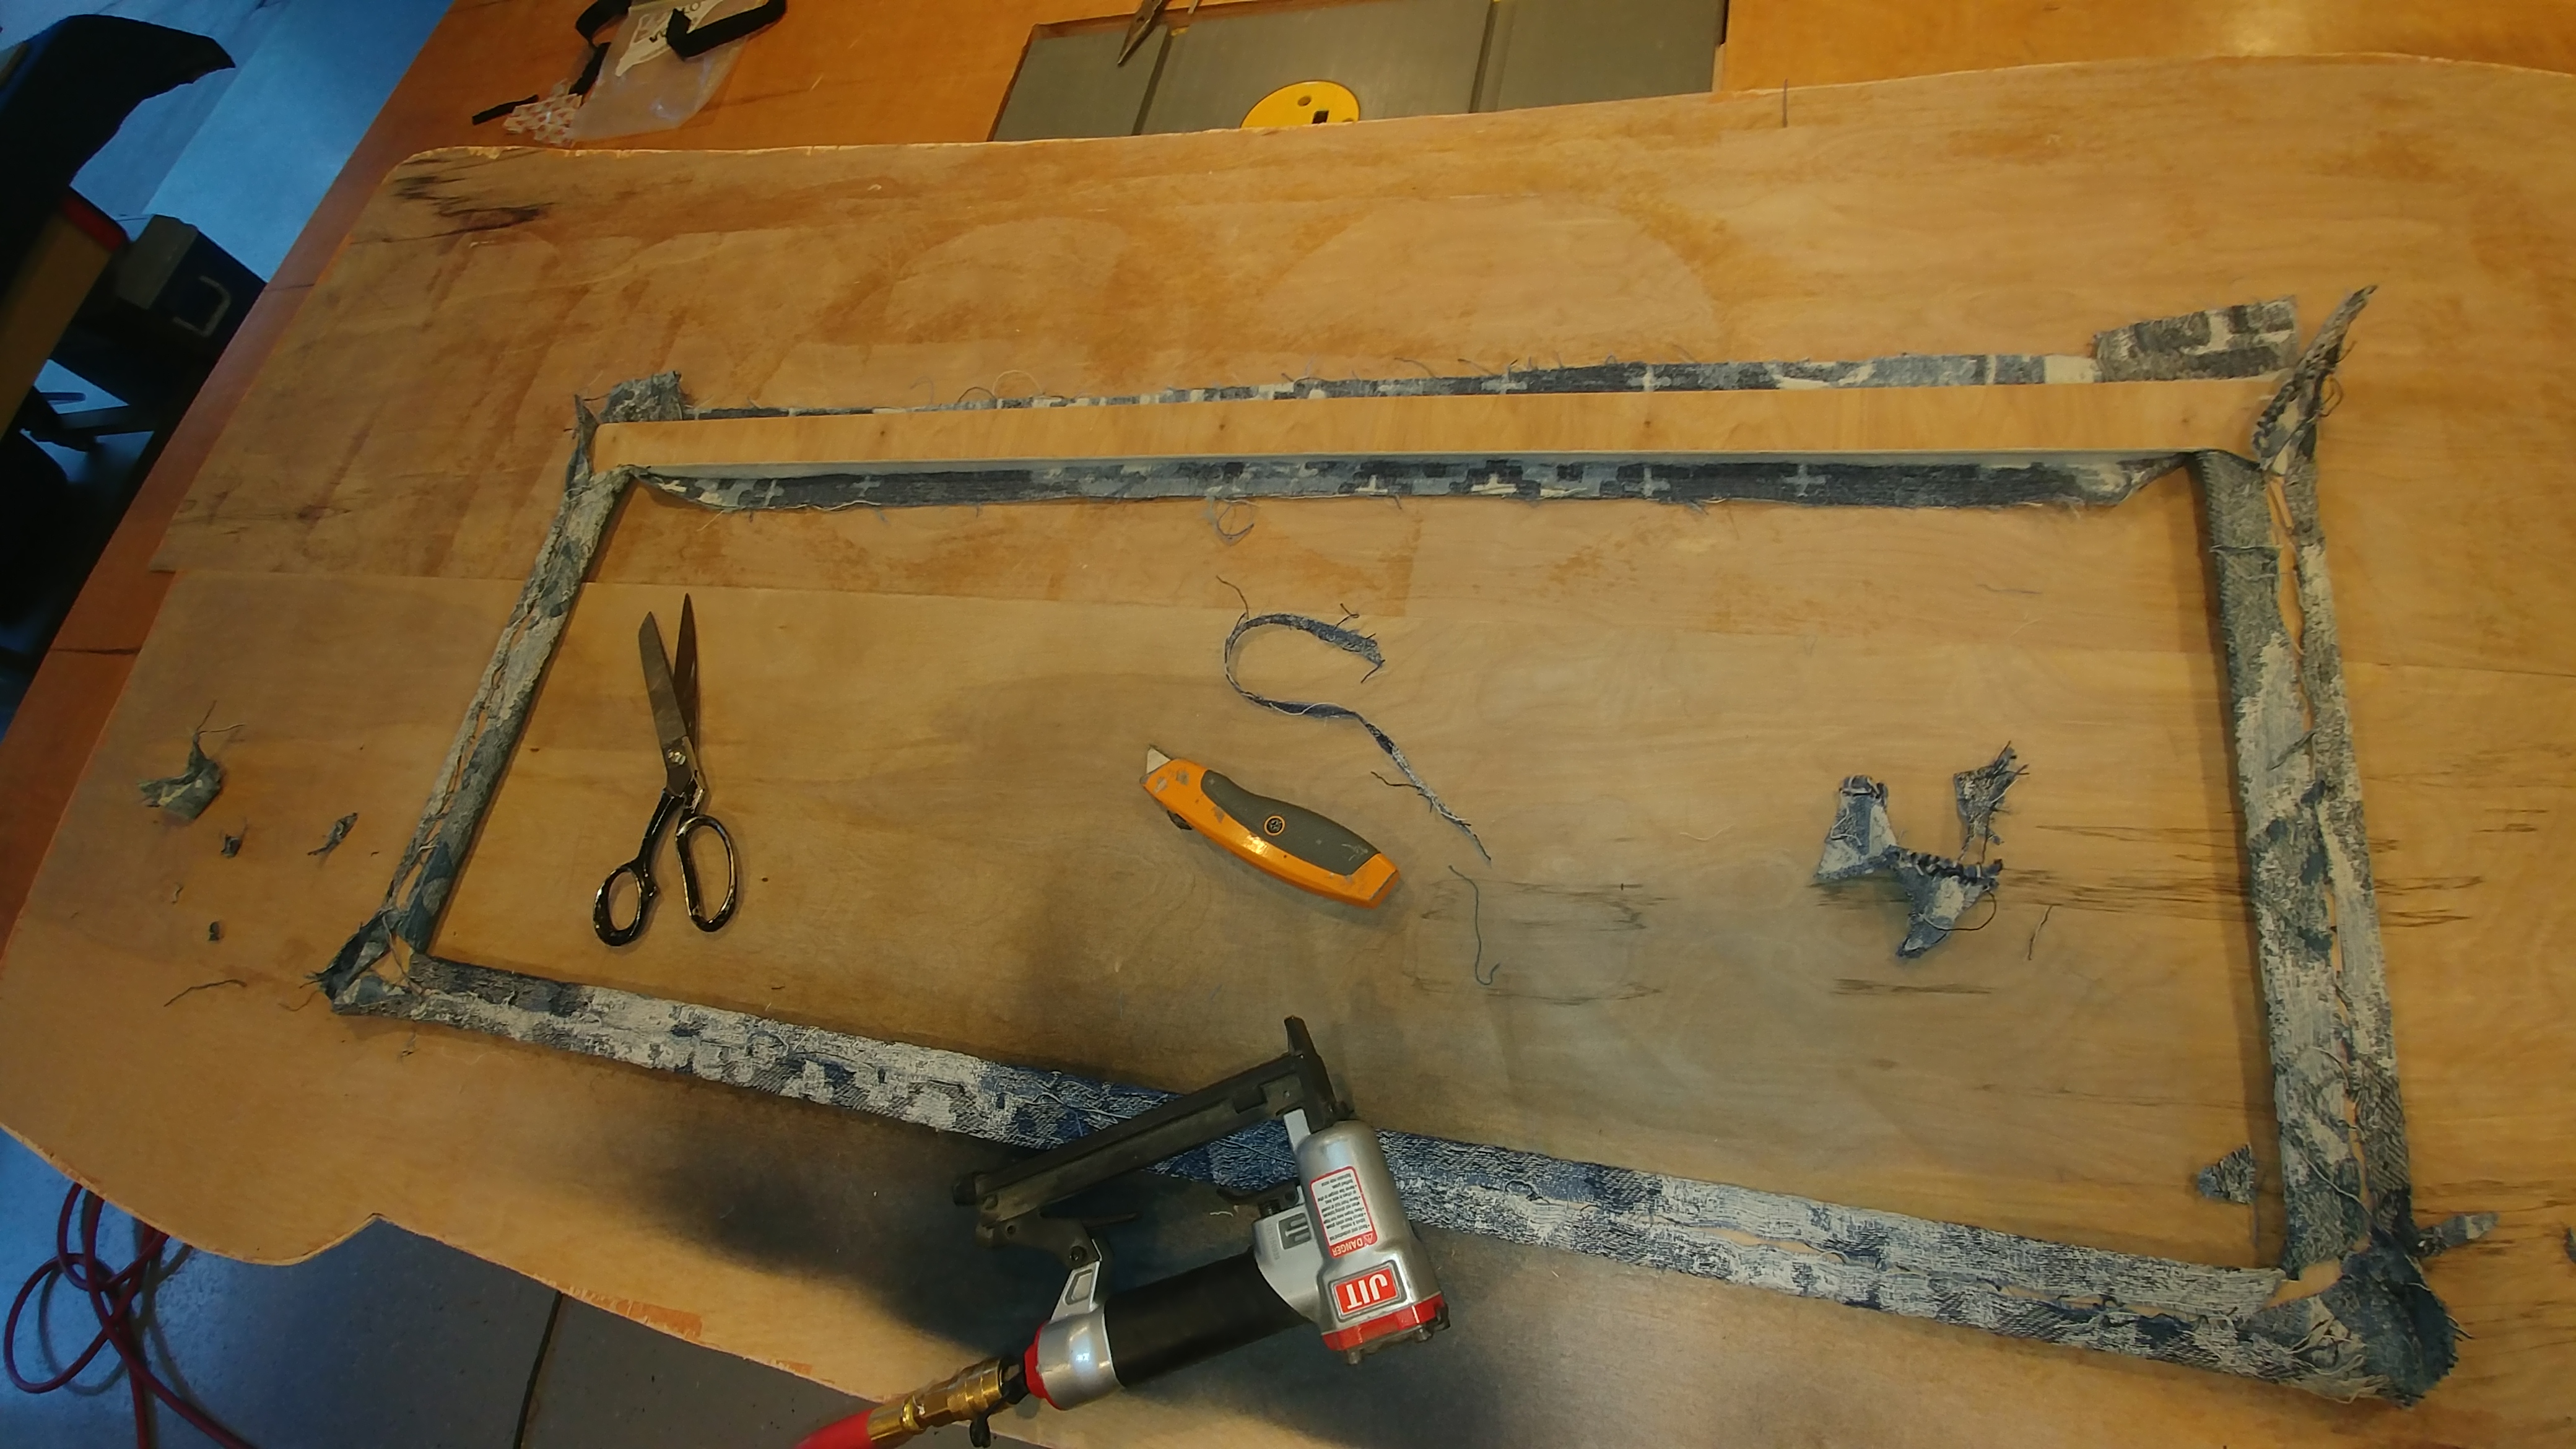
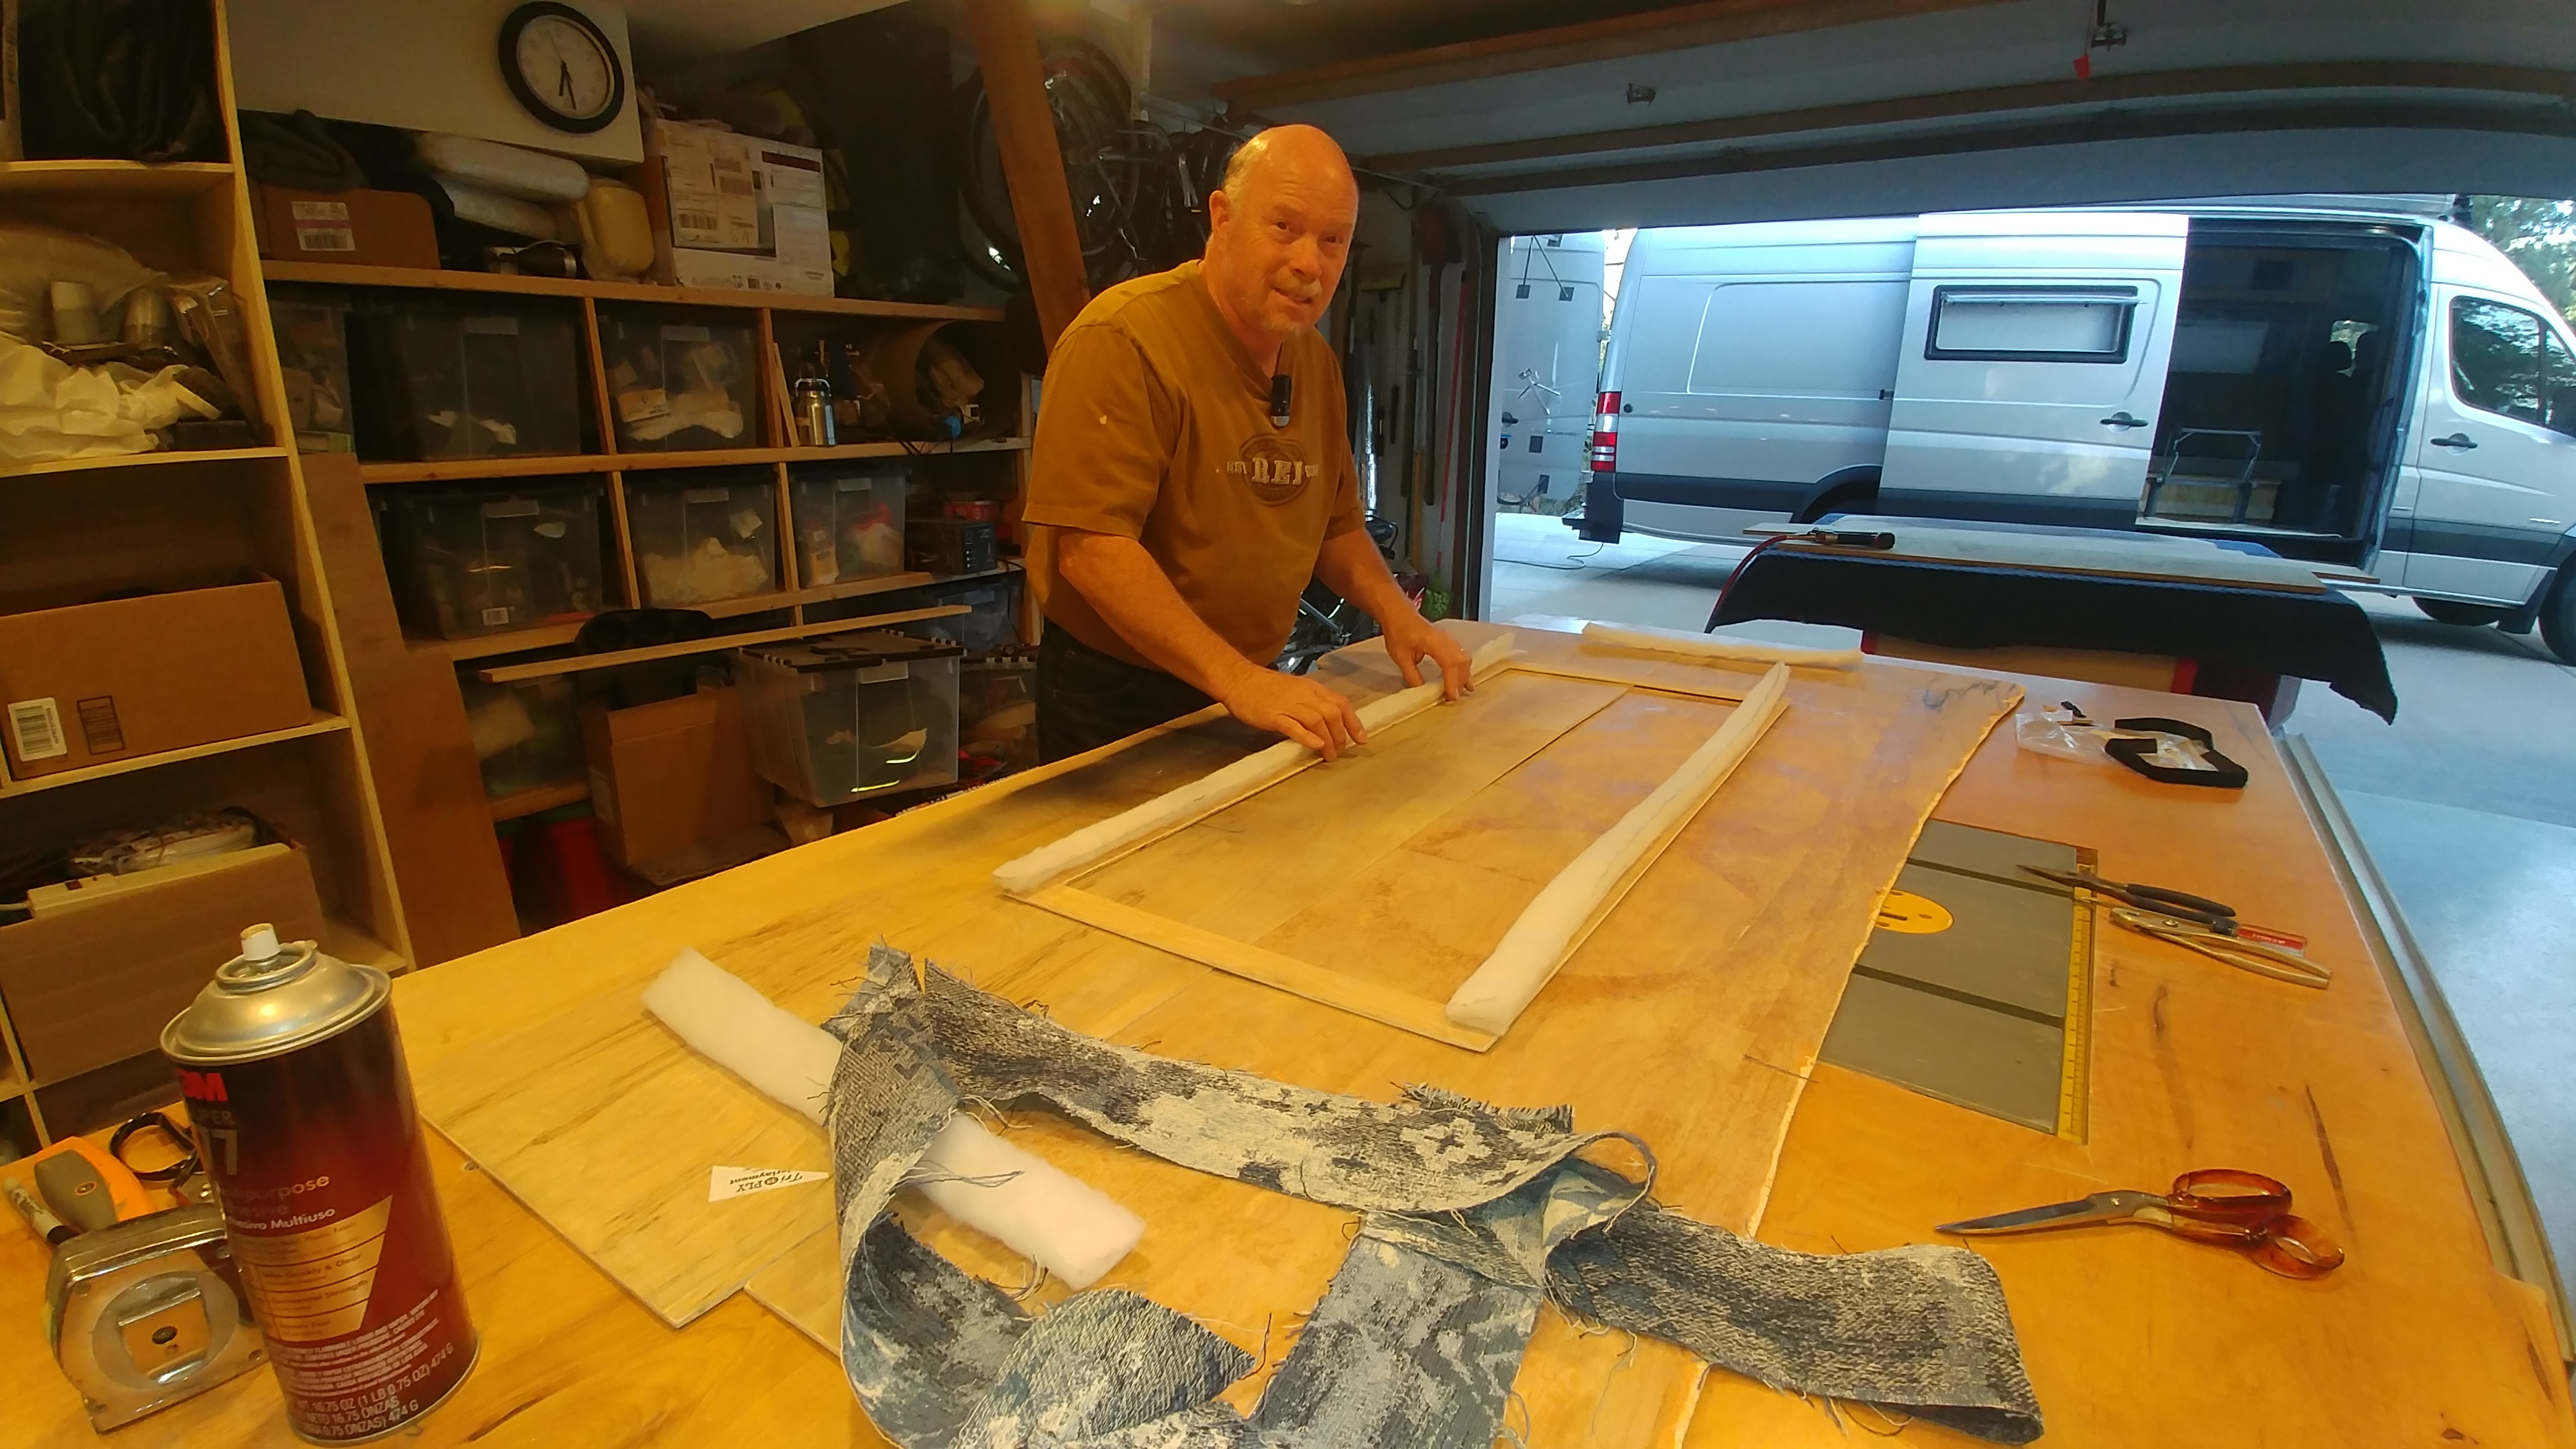
Here I’m making another color-splash window frame for the window on the sliding door. Again, 3/16″ plywood, some padding, and the colorful patterned curtain fabric we wanted to accent with, spray glued on, plus short upholstery staples into the wood. The frame was cut to the exact size so that it would just push in and snap-fit into the opening left by the door panel which is covered in a super low-knap Ozite carpet-like fabric. And so this way, there are no rattles possible at all, and the trim piece is easily removable if it should ever need cleaning or recovering, etc. (click on any picture to see enlarged high resolution.)

Another advantage to not having another window back in the galley was that if it was open it would get hit by the sliding door when opened. Of course, we could’ve just used the standard cheaper slider single pane RV window there to elliminate the potential problem, but then we’d have to put up with the thermal breach issue and the heat loss (or gain) from it, the condesation dripping water down the inside of the window in cold weather, and the rain coming in thru the window if open when raining. And we did end up coming up with a kind of a window in the galley anyway. We put a 32″ 1080P tv screen there in the galley (even though we also have a projection home theater over in the dinette/bedroom).

The tv fits into that area there on the wall where you see the spray foam, it will be used for any tv/video viewing during the day, because the projector is so low in brightness, it needs total light control, like every window shade pulled tight, and/or it being dark out. AND, the other main reason for the (higher resolution) tv screen (the projector is just 720p) , is that we will have a security DVR with four 1080p cameras on the roof, in each of the four directions. So in addtion to being able to see what’s going on at night (100′ infrared performance) or when every black-out shade is closed, we can select one of the four cameras during the day, and it will look just like a window in the galley! (this pic obviously does not have the window trim snapped in yet)
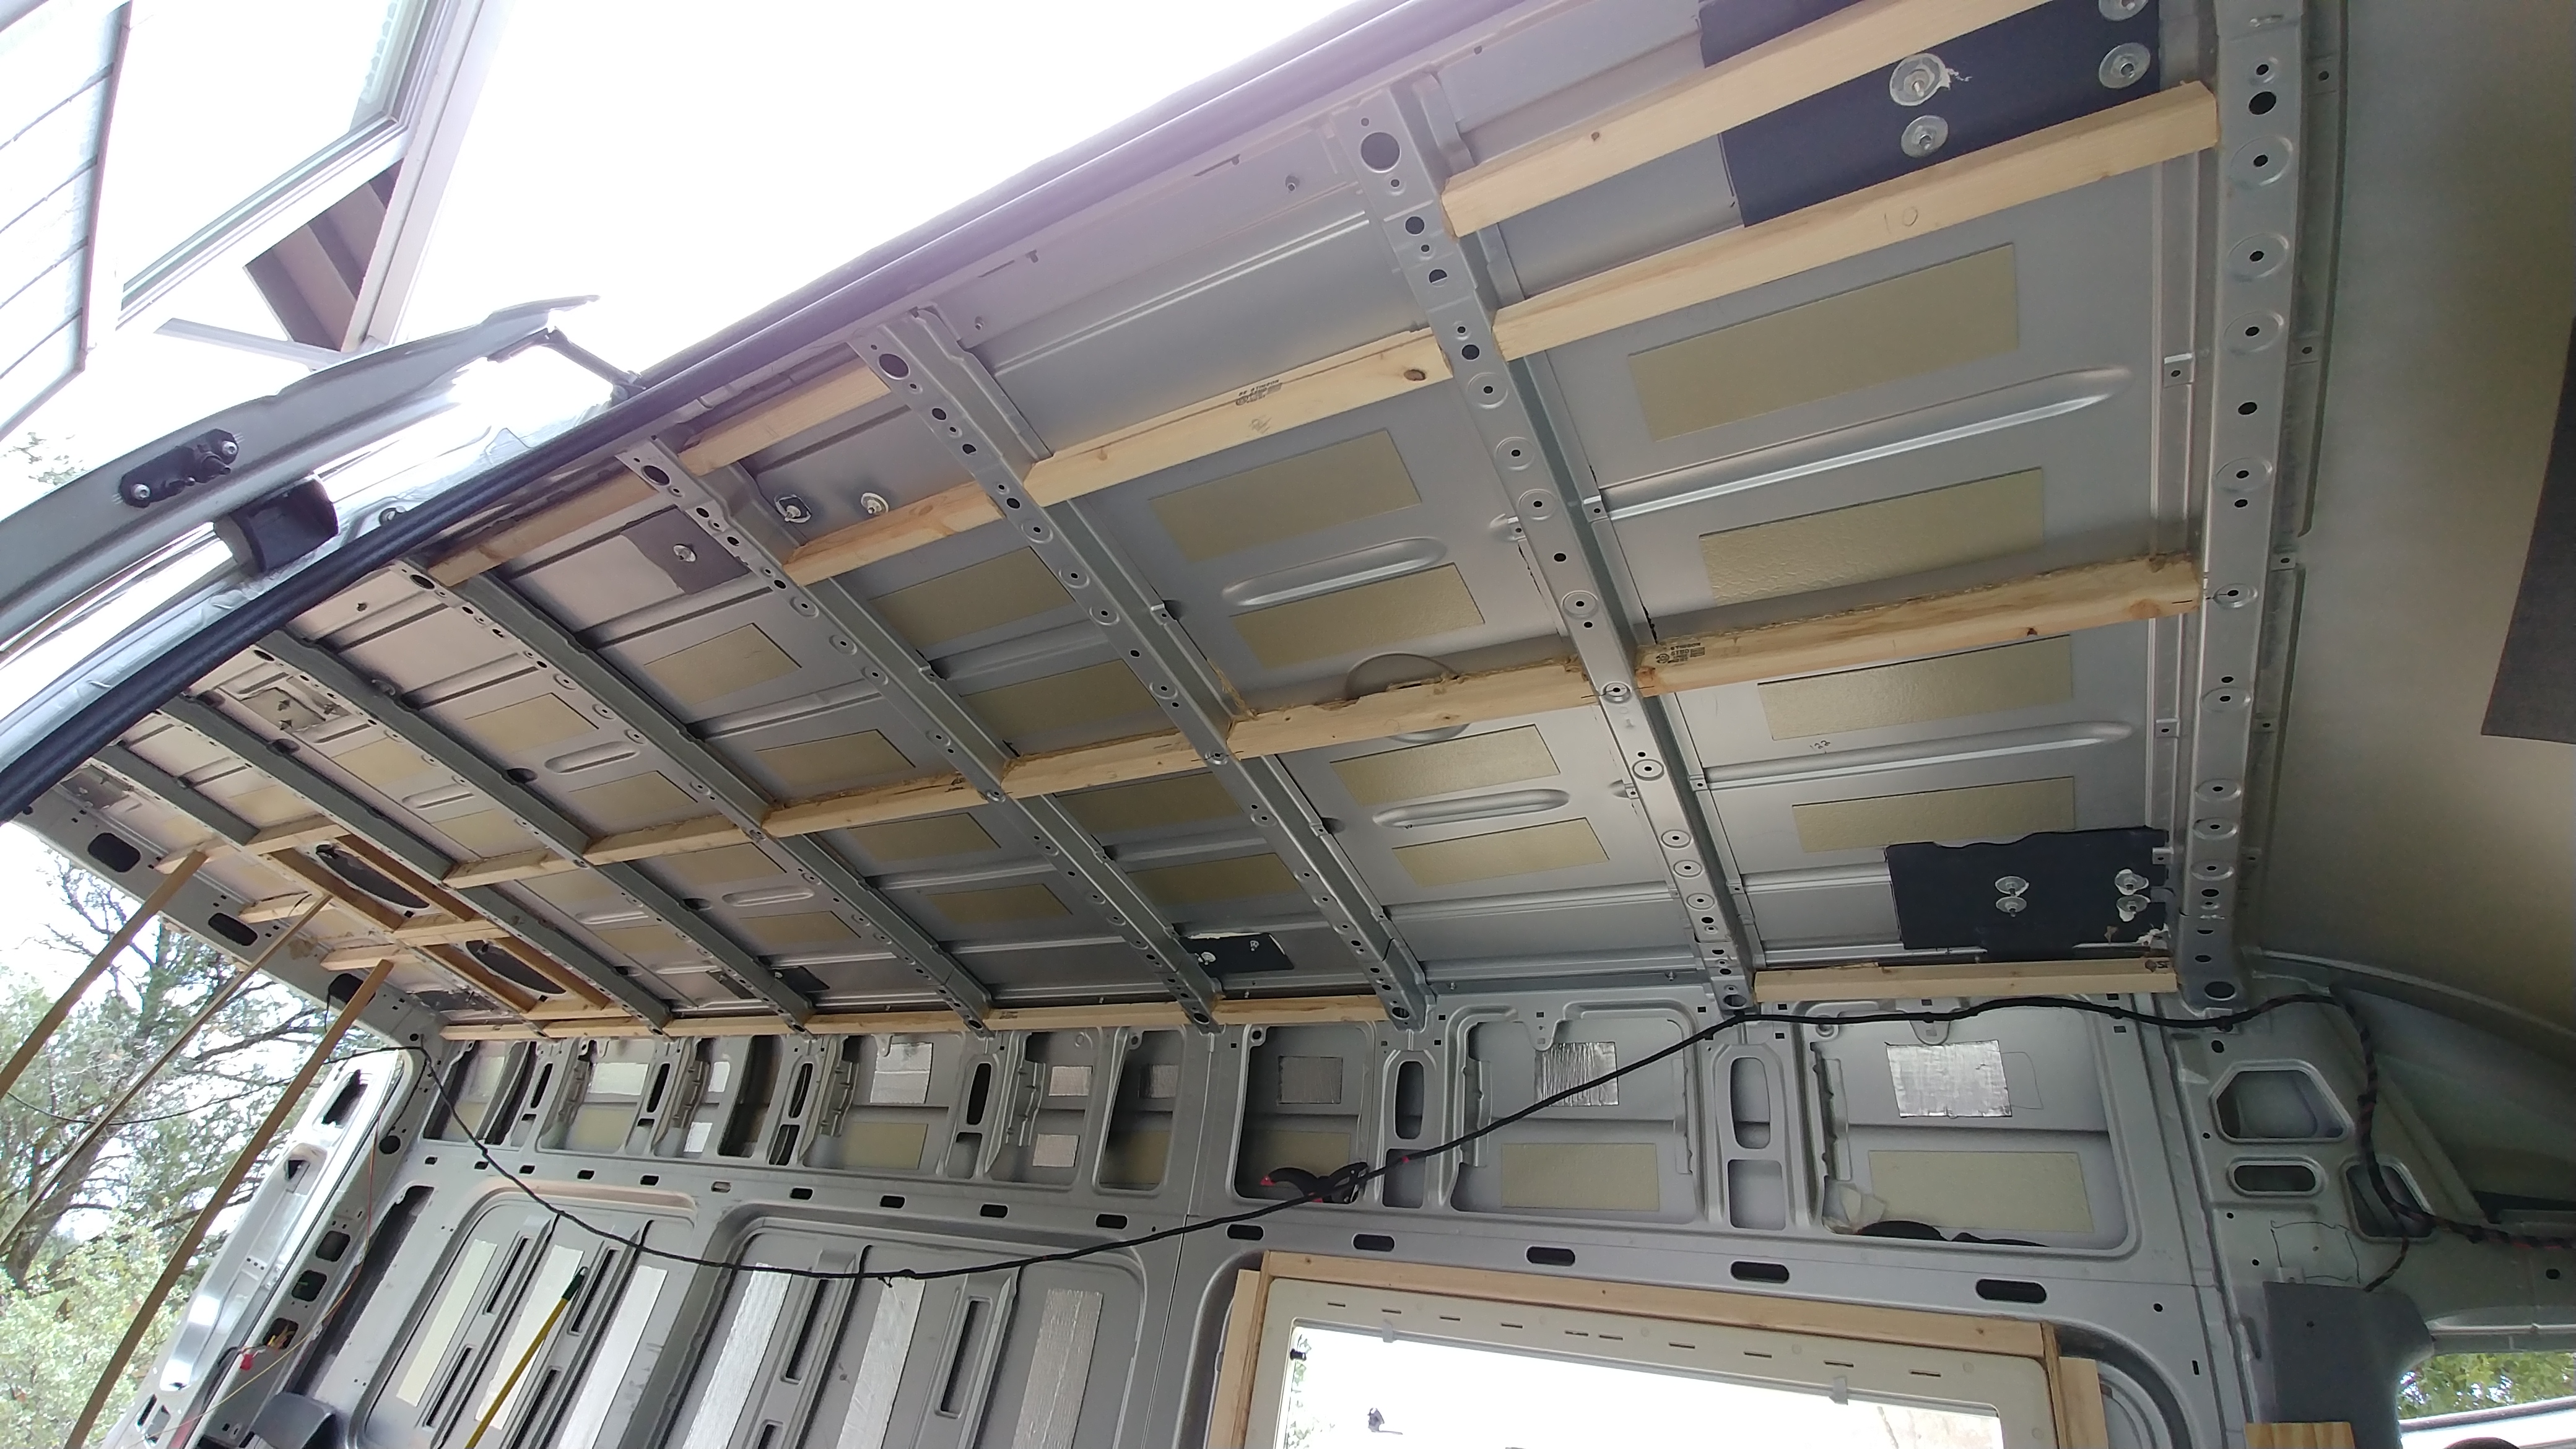
After we finished the spray foam, we could notice a huge difference in the temperature inside the van. For example, on a sunny warm spring day, about 10 am, we’d go out and open the van, even if sitting in full sun, and it would be quite noticeably cooler inside, from the retained cooler air from the night before. Then, being duely impressed by the insulation, we would feel the walls, and that’s when we noticed how significant the ‘thermal bridge’ effect was of the metal frame beams that contact the outside skin, and also the inside skin we were about to install. On the sunny side of the van, these metal wall and ceiling beams were way warmer than on the other side of the van that wasn’t seeing direct sun. ‘Time to get the laser thermometer out and do some strategizing. Long story short(er), we decided to add a layer of reflectix (double rows of sealed bubbles, 1/4″ thick, providing R-1.1 of insulation) to the entire length of all the walls and ceiling, before applying the 3/16″ thick plywood which would be our base substrate of our walls/ceiling.
– So in general,..it is definitely worth it to try and insulate as best you can. You only have to do it once, and it will provide decades of quiet, thermal protection from the elements, alowing you to run your heat or AC less, and prevent rust and mold inside your walls, from condensation.
I looked at all the pros and cons of different materials and here’s what I ended up doing. This was just my opinion of what was best for me. I’m not trying to talk anyone into anything. Just sharing: – Choosing insulation for a van is so important, not only because you want the most thermal insulation possible per inch, and sound deadening properties, but most importantly because there is a huge known phenomenon called “condensation” that will happen inside your walls, just like it does on your lemonade glass in the summer. Warm air hitting a cold surface makes water droplets form. In winter, the air in your van is warm, either from running your heater, cooking, or just being in there yourself. And there is moisture in that air, especially if you’re cooking (even more so on propane) or not heating it much (or are heating with catalytic propane). And so, even with good insulation like wool, thinsulate, or other ‘batten’ type materials, the moisture travels thru the walls and is present in the warmer air in the insulation, and when the outside temps drop, the metal skin gets cold and condensation forms on the inside of the skin, inside the wall. This is icky on two fronts: rust and mold. So how can we avoid it? Well even if we insulate really well with just the right stuffed thickness of thinsulate or wool or fiberglass or big chunks of foam board stuck with big beads of construction adhesive or stick-pins, or almost any other kind of insulation, and even if we heat well with a diesel or in-wall propane heater that has it’s own combustion chamber vented out so that it doesn’t add to our moisture, and even if we cook on diesel or electric cooktops to reduce moisture, there will STILL be some condensation forming in those walls. Arhg! Is there ANY WAY to guarranty that water will not condense and form on the inside of those walls?. Yes, there is. Polyiso spray foam coats the entire metal wall surface and sticks to it completely with no gap whatsoever. It also fills the ENTIRE cavity of the wall with insulation that is the HIGHEST R-value of ANY insulation of any kind. In fact, due to the fact that it fills and seals every nook and cranny and adheres to the outside skin, it is actually about TWICE the R-value of any of the other common types of insulation like Thinsulate or wool. It does come in board-sheets and many try to use it where they can, but attaching it with beads or blobs of adhesive, or ’stick-pins’ will just leave gaps where condensation will still form. And what about where there is no flat open area to the wall? What about where the ribs are and the other support beam structures? Spray foam has the wonderful advantage of being able to be sprayed into EVERY beam and pocket, no matter how small. Even wall support beams that look sealed off to all access can be fully insulated by just drilling some small holes and squirting polyiso foam. People are afraid of doing it themselves because if you spray too much too fast you can incur ‘warping’ of the body panels as the foam expands. But guess what? Just don’t. Don’t spray too much too fast. Solved. I did mine, having never done it before, nor seen it done, and I had almost no warping at all. And guess what? The tiny amount I had I would gladly trade for no condensation, double the insulation value of ANY other type, and really, even more, when you consider that I have every single square inch of my walls completely filled perfectly, which is impossible with any other type, no matter how many days you spend on it. By the way, the entire project took me just a half a day. And you don’t need to install any sound deadener since the foam does all that, saving a lot of work and about $300 for that stuff, bringing the $785 for the foam essentially down to just $485, relative to doing deadener plus Thinsulate. So it’s also cheaper. Cheaper, easier, faster, quieter, lightweight, mold and mildew proof, condensation proof, rust proof, and the best performing thermal insulator known to man. It was an easy decision for me. It may not be the best for your van, I’m just telling you about it in case you want to consider it. Best of luck.
(we also “insulate” from direct hot summer sun by having the full roof of solar panels being off the roof 8″ to provide shade there, and we have two, full length 15′ awnings to provide full shade for both sides of the van,…if it’s not too windy!)