Wiring. Lots of wiring.
Some people build an RV a little bit at a time, adding components as they discover a need for them. This requires wiring to be run on the walls’ surface, and makes for a cobbled together look. If you can, plan. Everything.
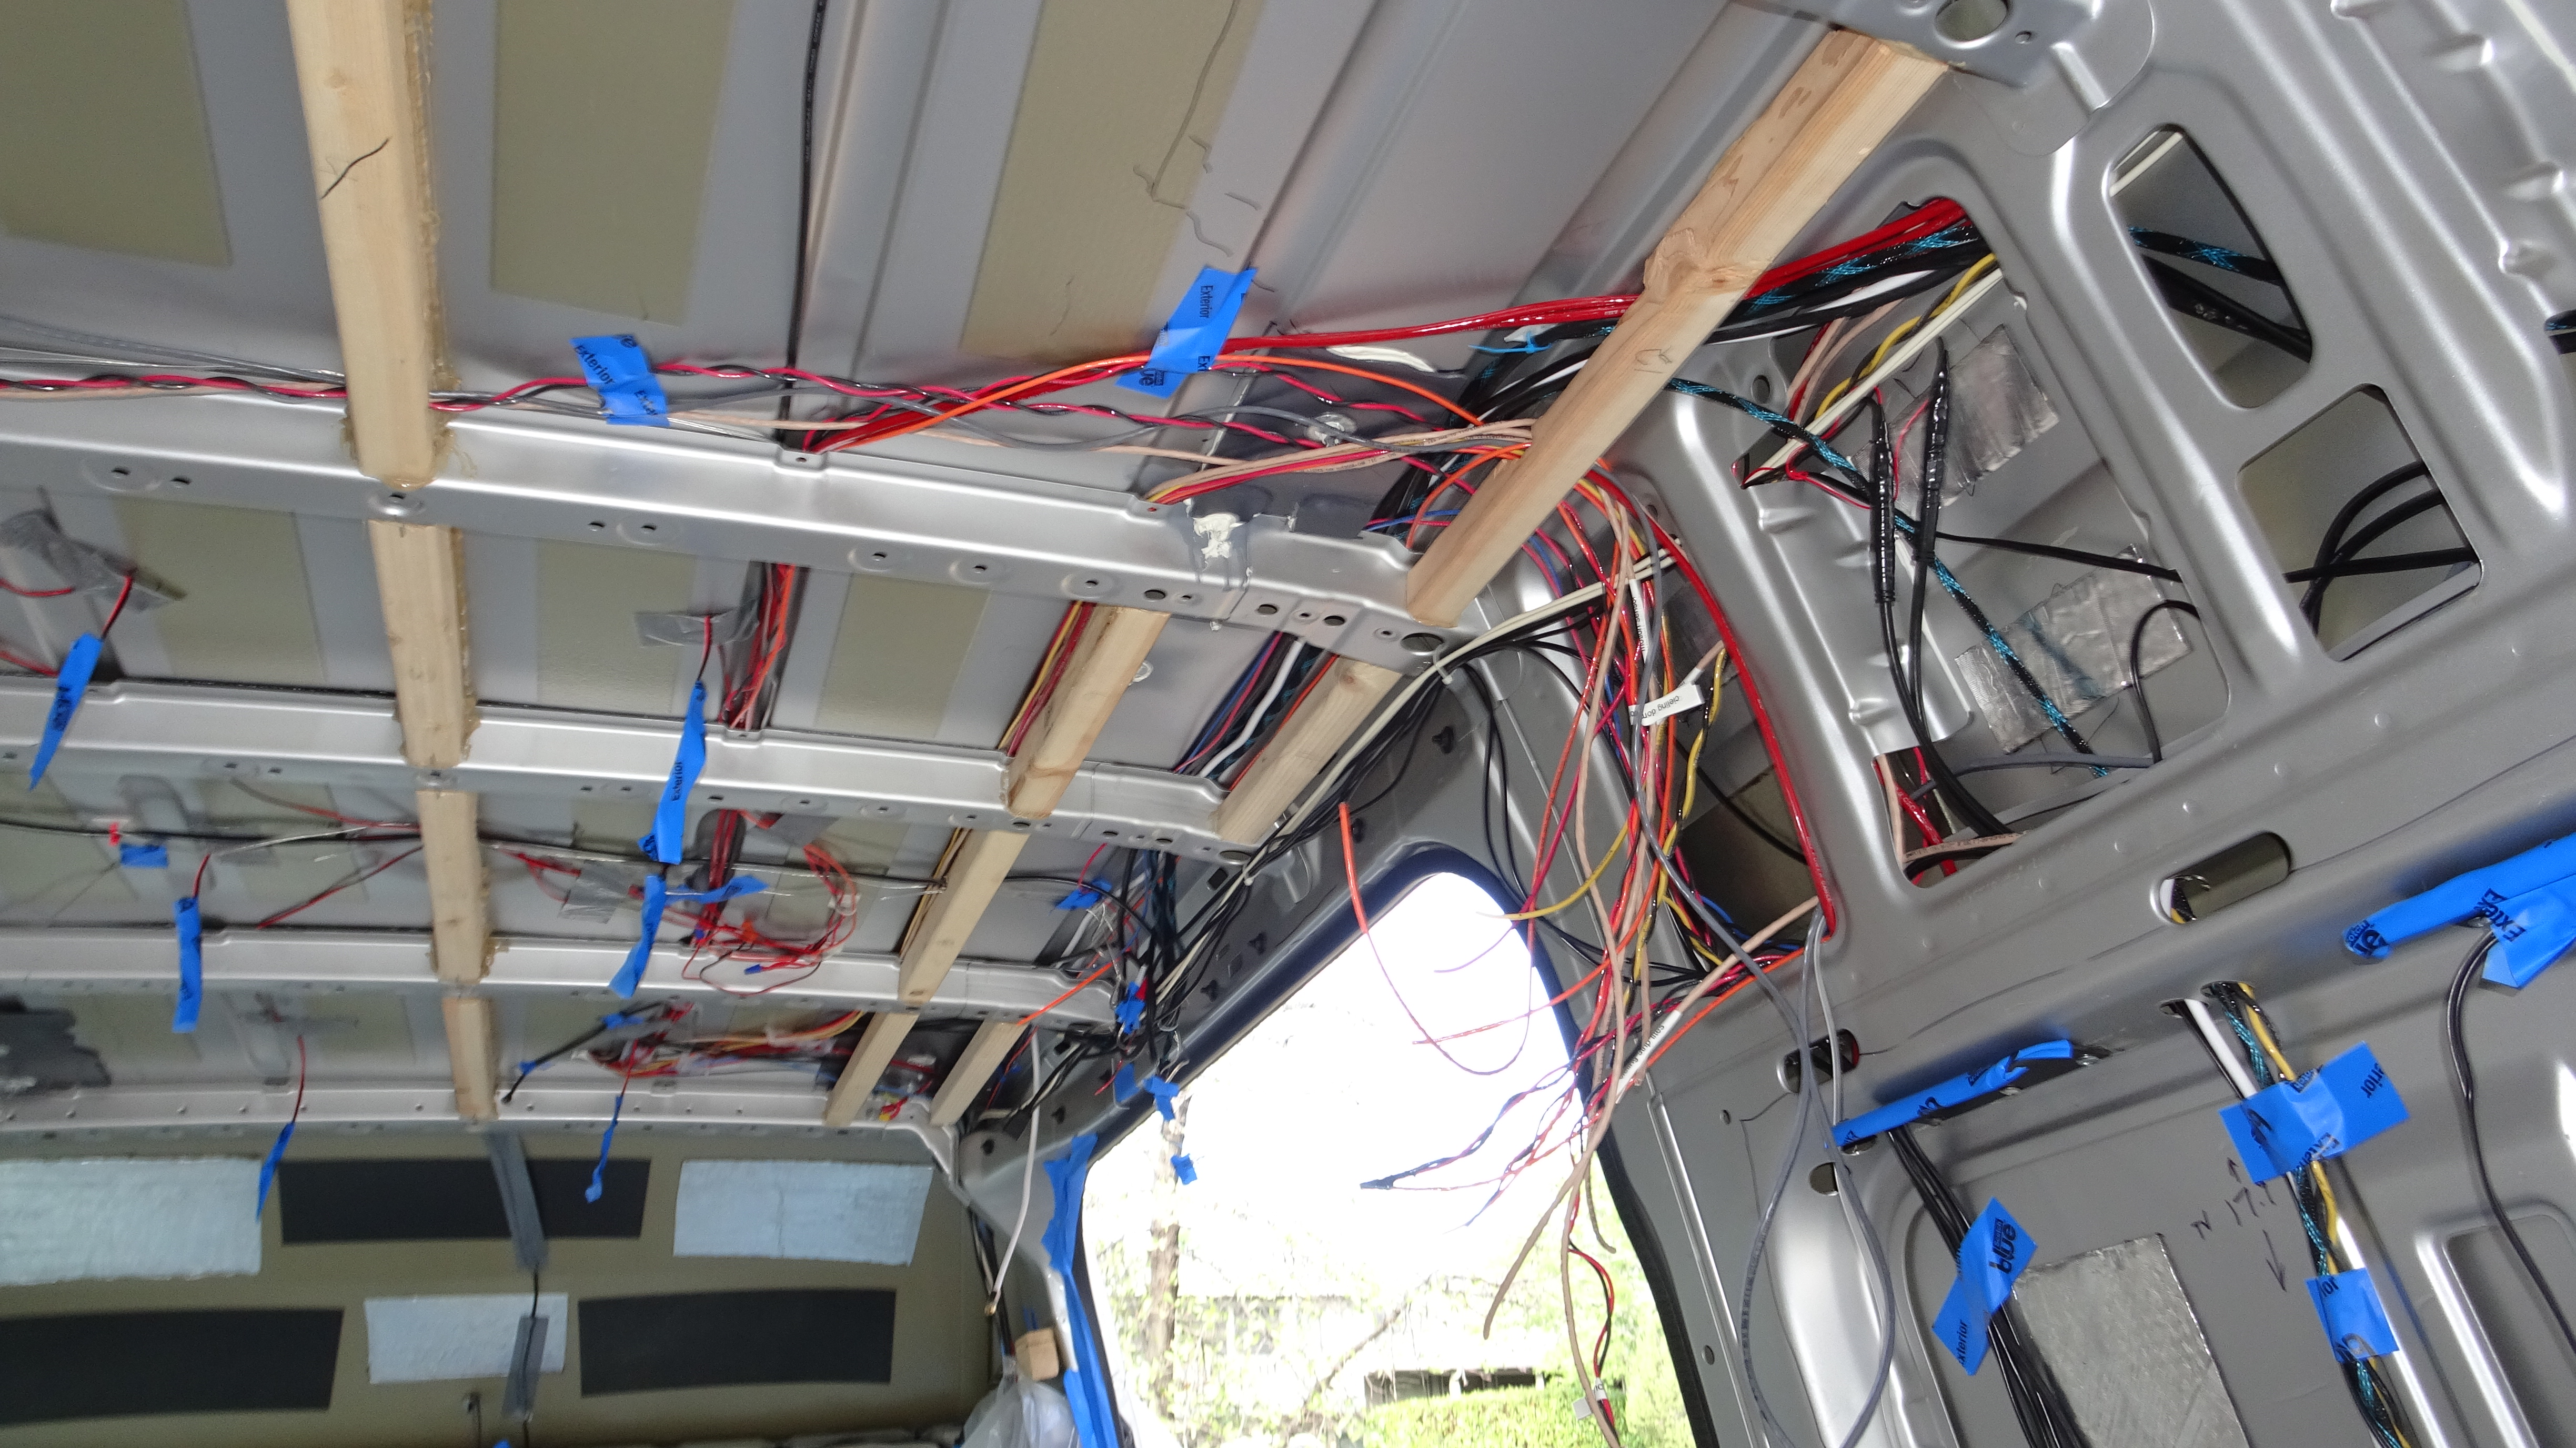
Wiring must be ALL pre-planned, and ALL pre-run, including runs to the roof, before spraying in the expanding closed-cell foam insulation. The wires, when taped to the inside back of the wall,…which is the inside of the outside metal skin, will be completely captured by the foam and will be back as far as possible from the inner wall surface, safe from any sheet screws during construction. Sheet metal screws, by the way, are totally strong when properly sized and tightened,…and there is no need for exotic, expensive, hard-to-use “threaded anchor” fasteners such as “Rivnuts” or others.
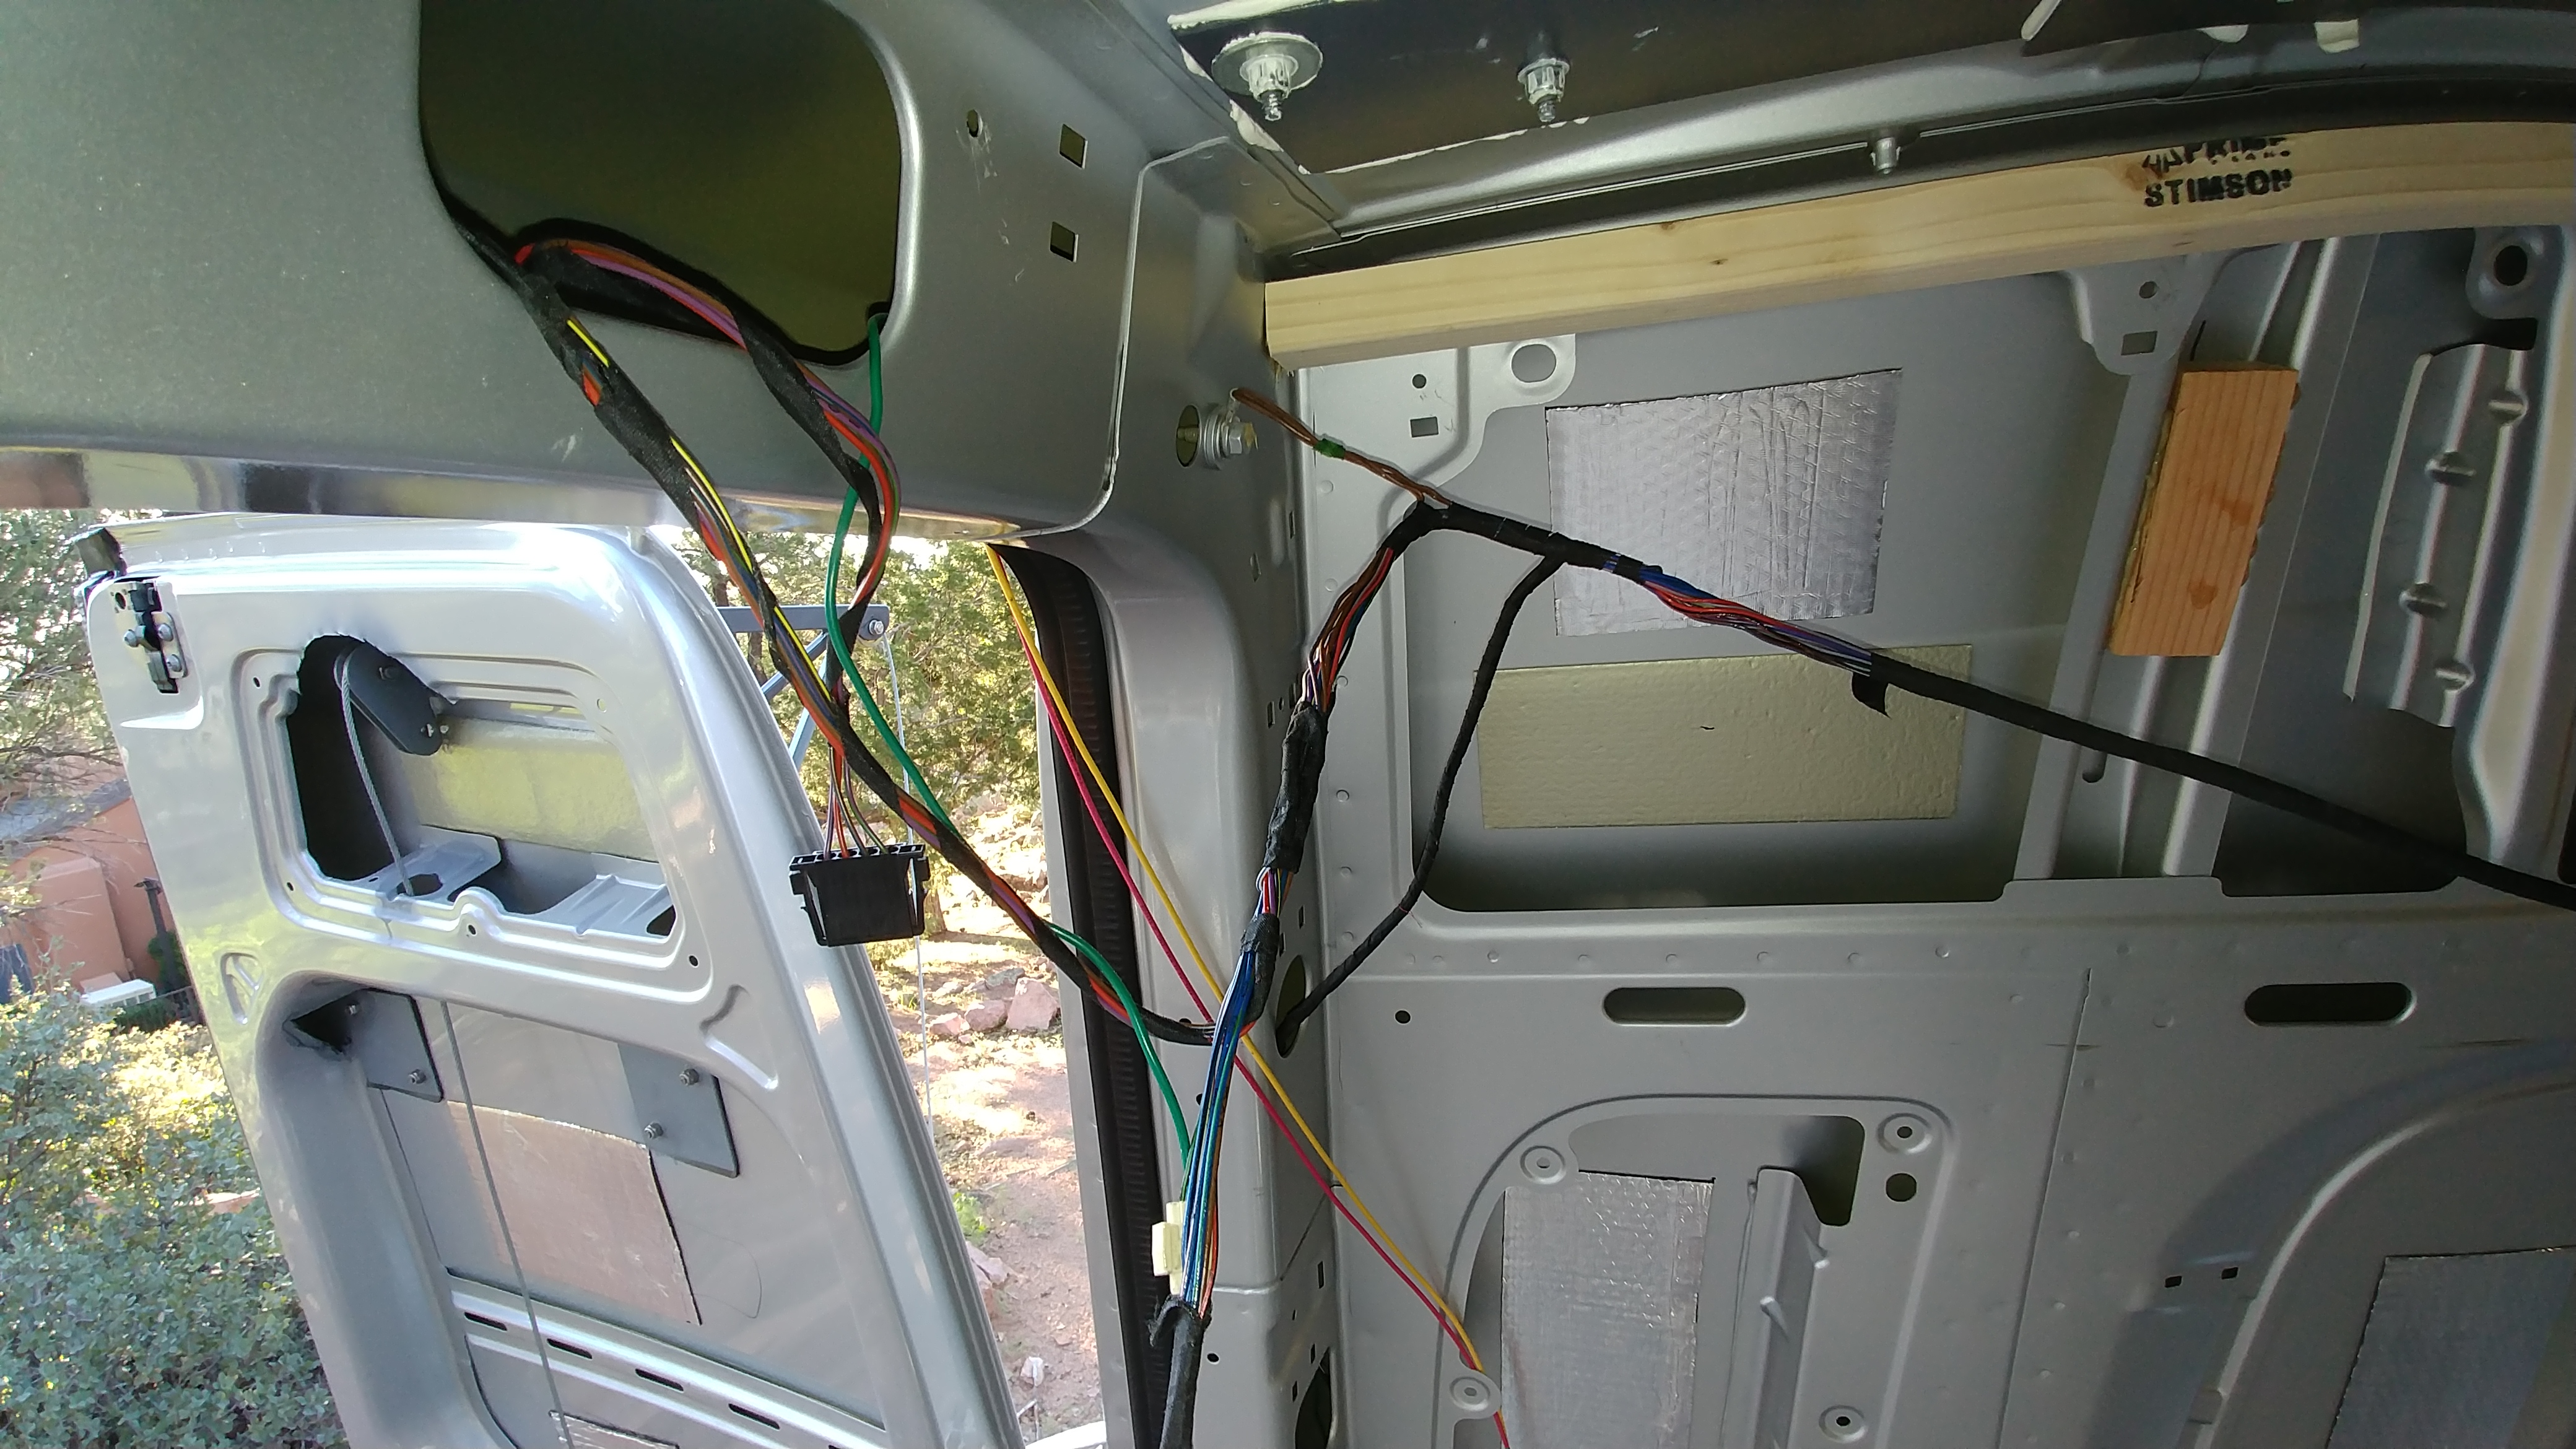
The stock harness group of 17 conductors for taillights, etc. that run along the outside of the streetside wall and ceiling beams must be cut at the back right corner, re-run inside the wall behind the beams, requires some drilling, and then re-soldered back together, color-to-color (yes, there are 17 individual separate combinations of colors/stripes to easily get everyone back proper) and then heat-shrinked. This is the only way to get clean wall corners with cabinets that go up smooth and flat to the ceiling.
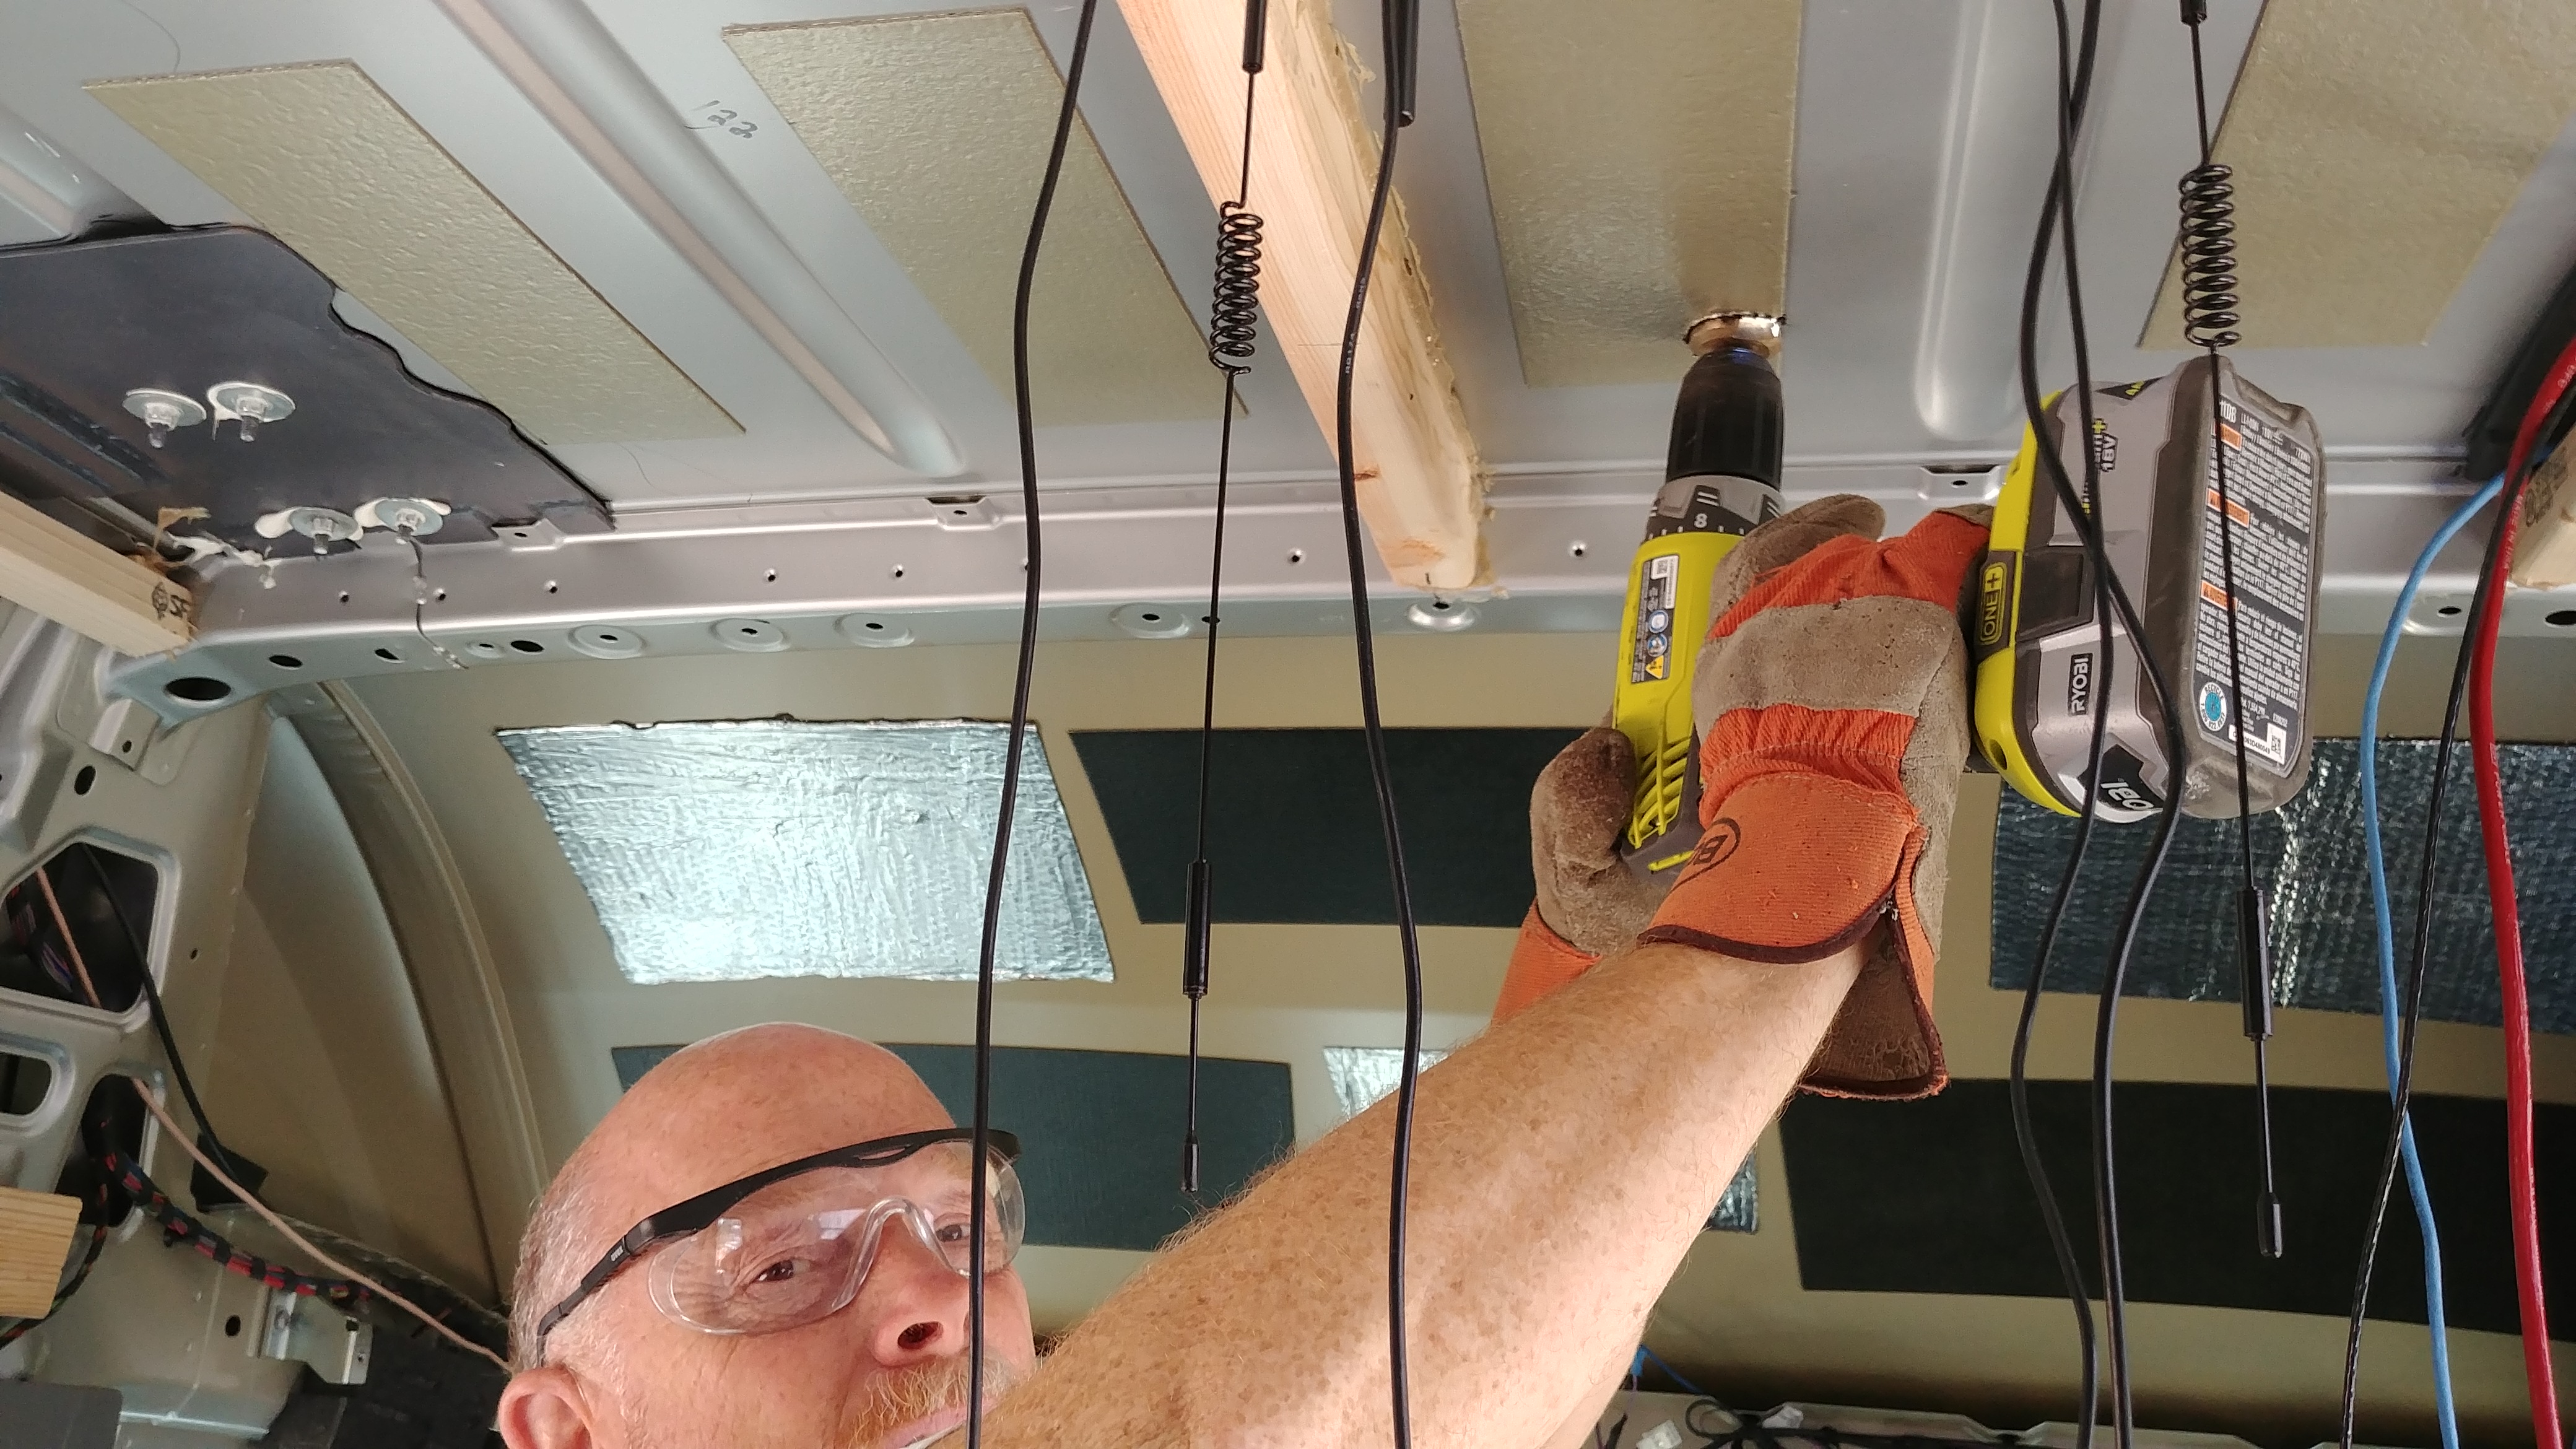
Then run ALL the wires, including those that have special proprietary cables like antennas to the roof and cameras, etc. All of those items must be decided on and purchased ahead of time for this reason. Drill a large hole (or two, like I needed. one front, one rear.) in the roof and run all the roof wires like solar, solar motors, wifi repeater and it’s motor, light bars, 7 cameras, awning motors and lights, 9 antennas, etc. thru the roof holes.
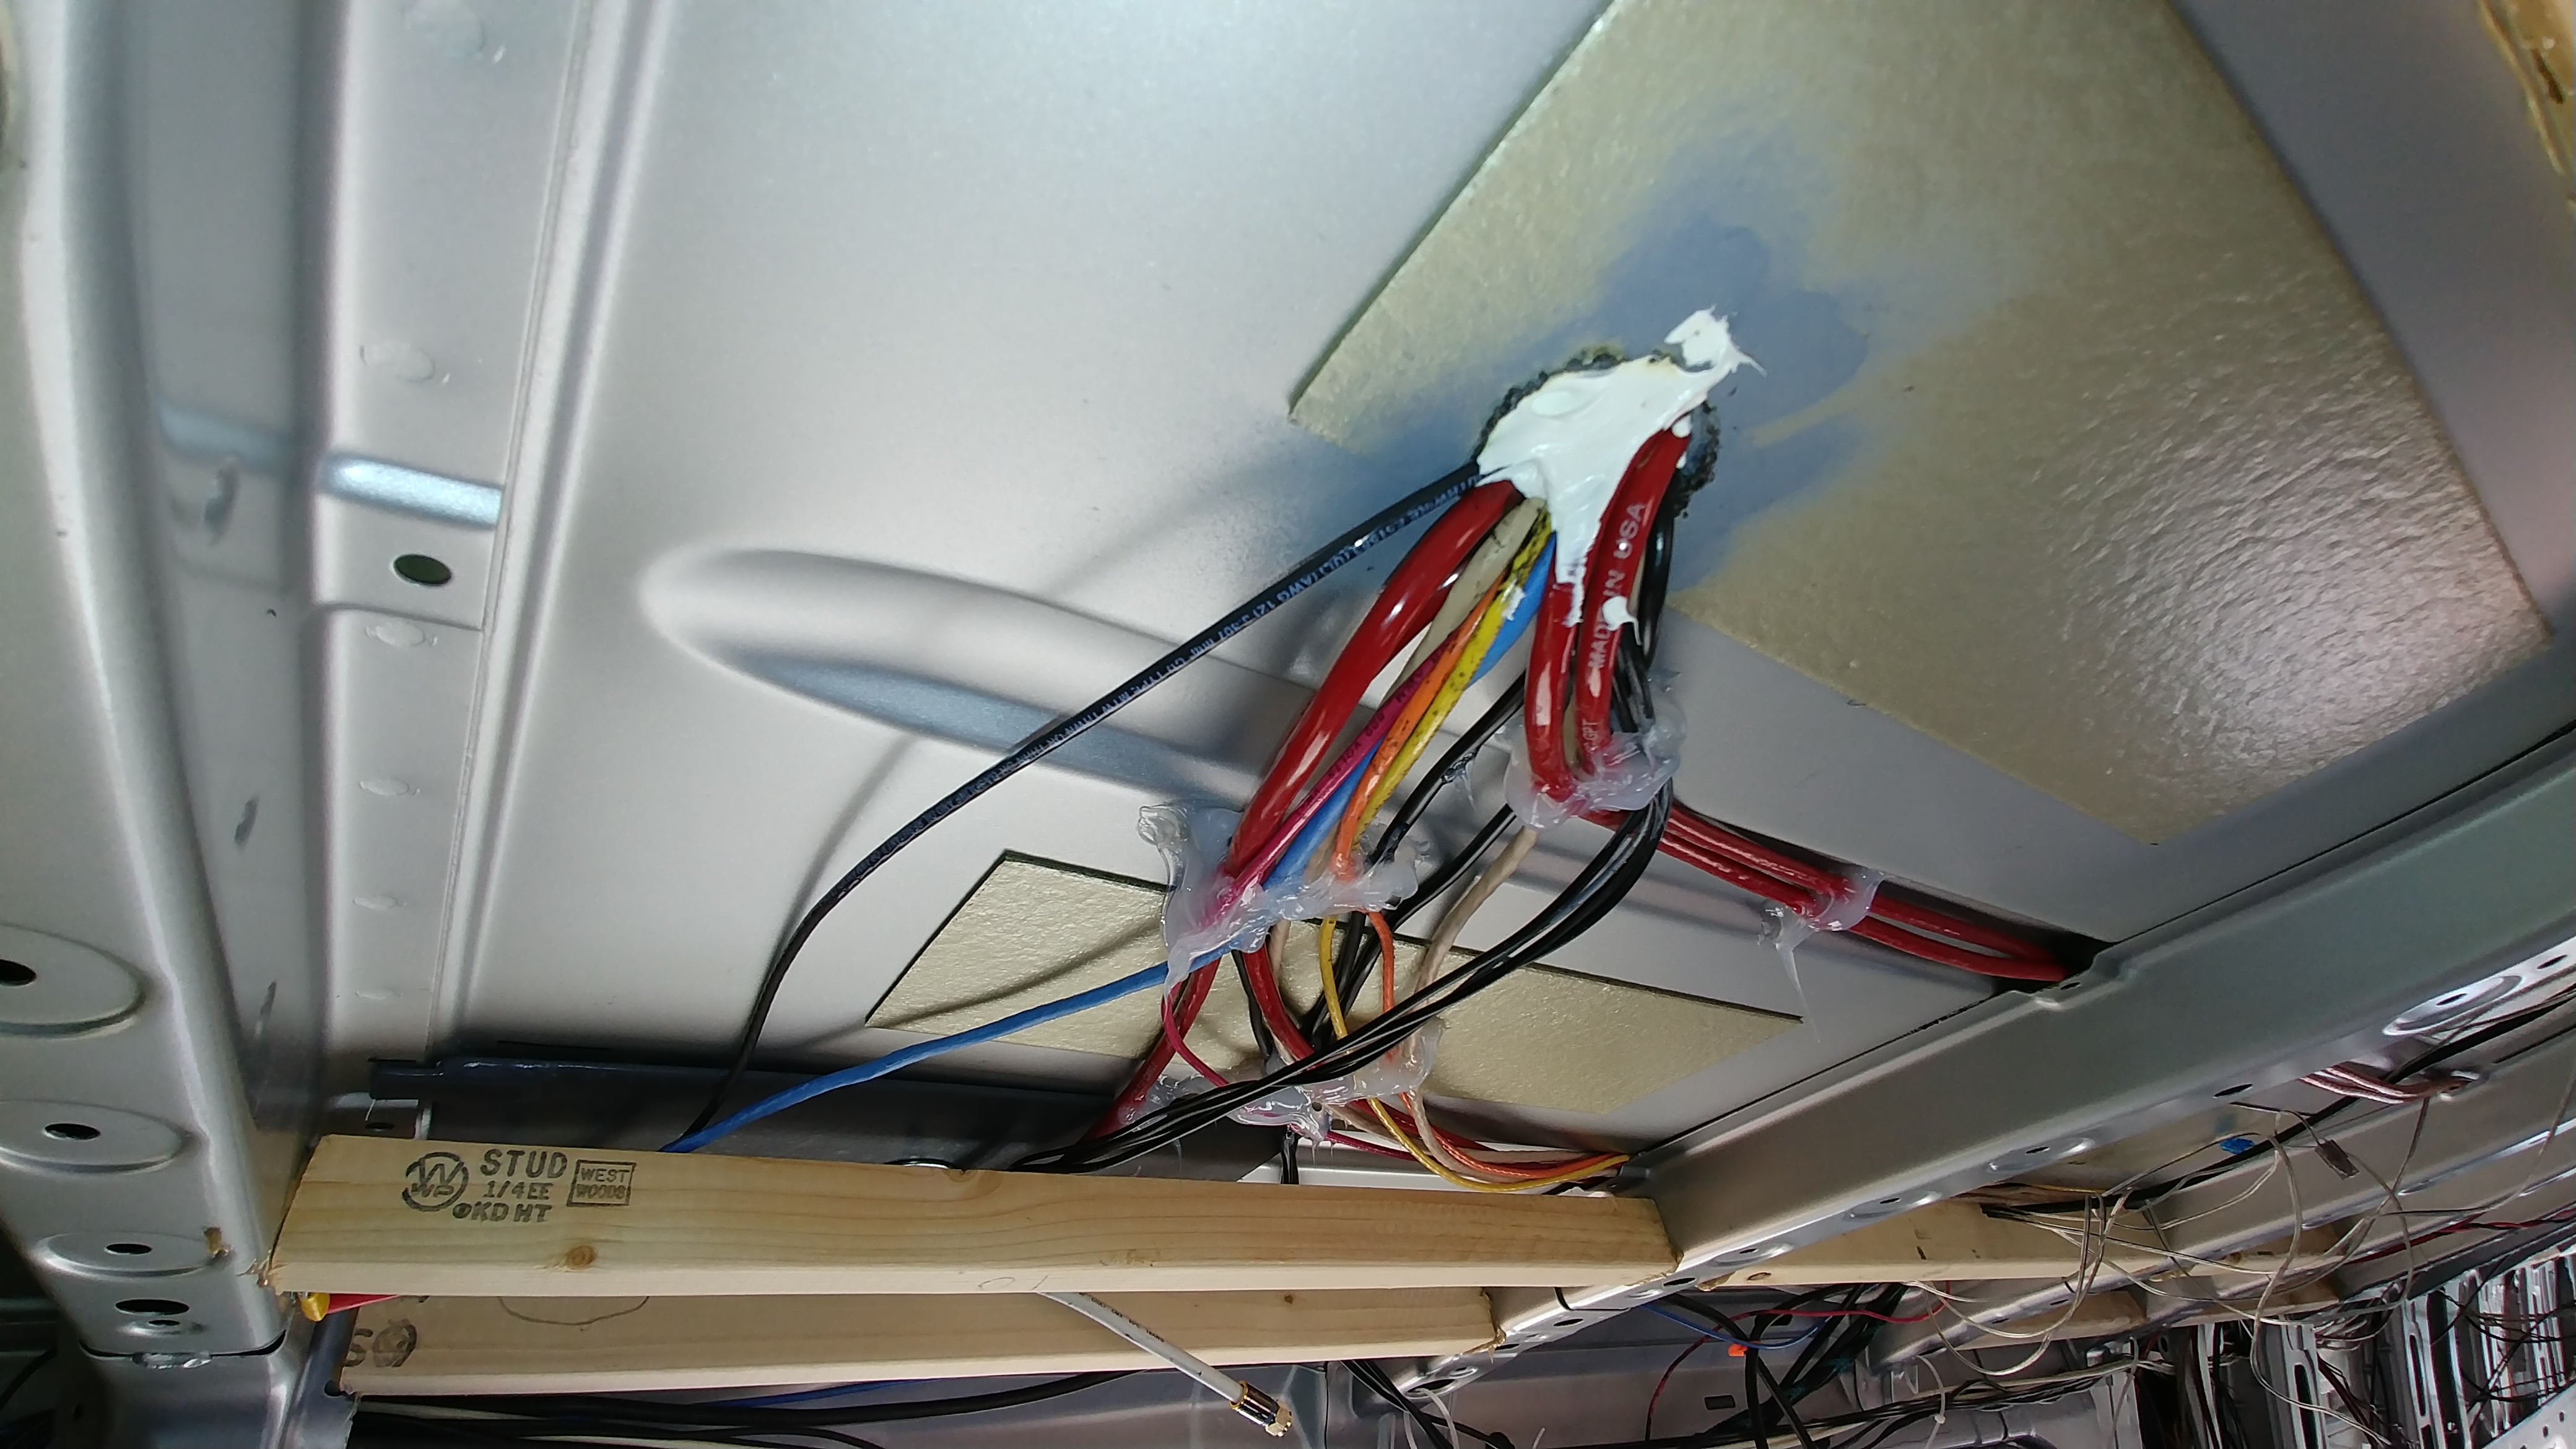
Make a ‘roof jack’, which is a triangle shaped tent-looking thing out of some metal like the nice painted sheet steel that you cut out of the van’s side windows, and glue it in place, with tons of SikaFlex polyurethane adhesive underneath, over the bundle of roof wires and clamp with a stage weight overnight. Then coat the entire top of the roof jack as well. -Viola! A completely waterproof wire track to the roof. Just don’t ever expect to remove or add another wire to it! Later, after all the wires are routed on top of the roof to where they’re going, coat them in SikaFlex polyurethane sealant, which will protect them from the suns’ UVs, stick them in place on the roof, and provide long term durability.
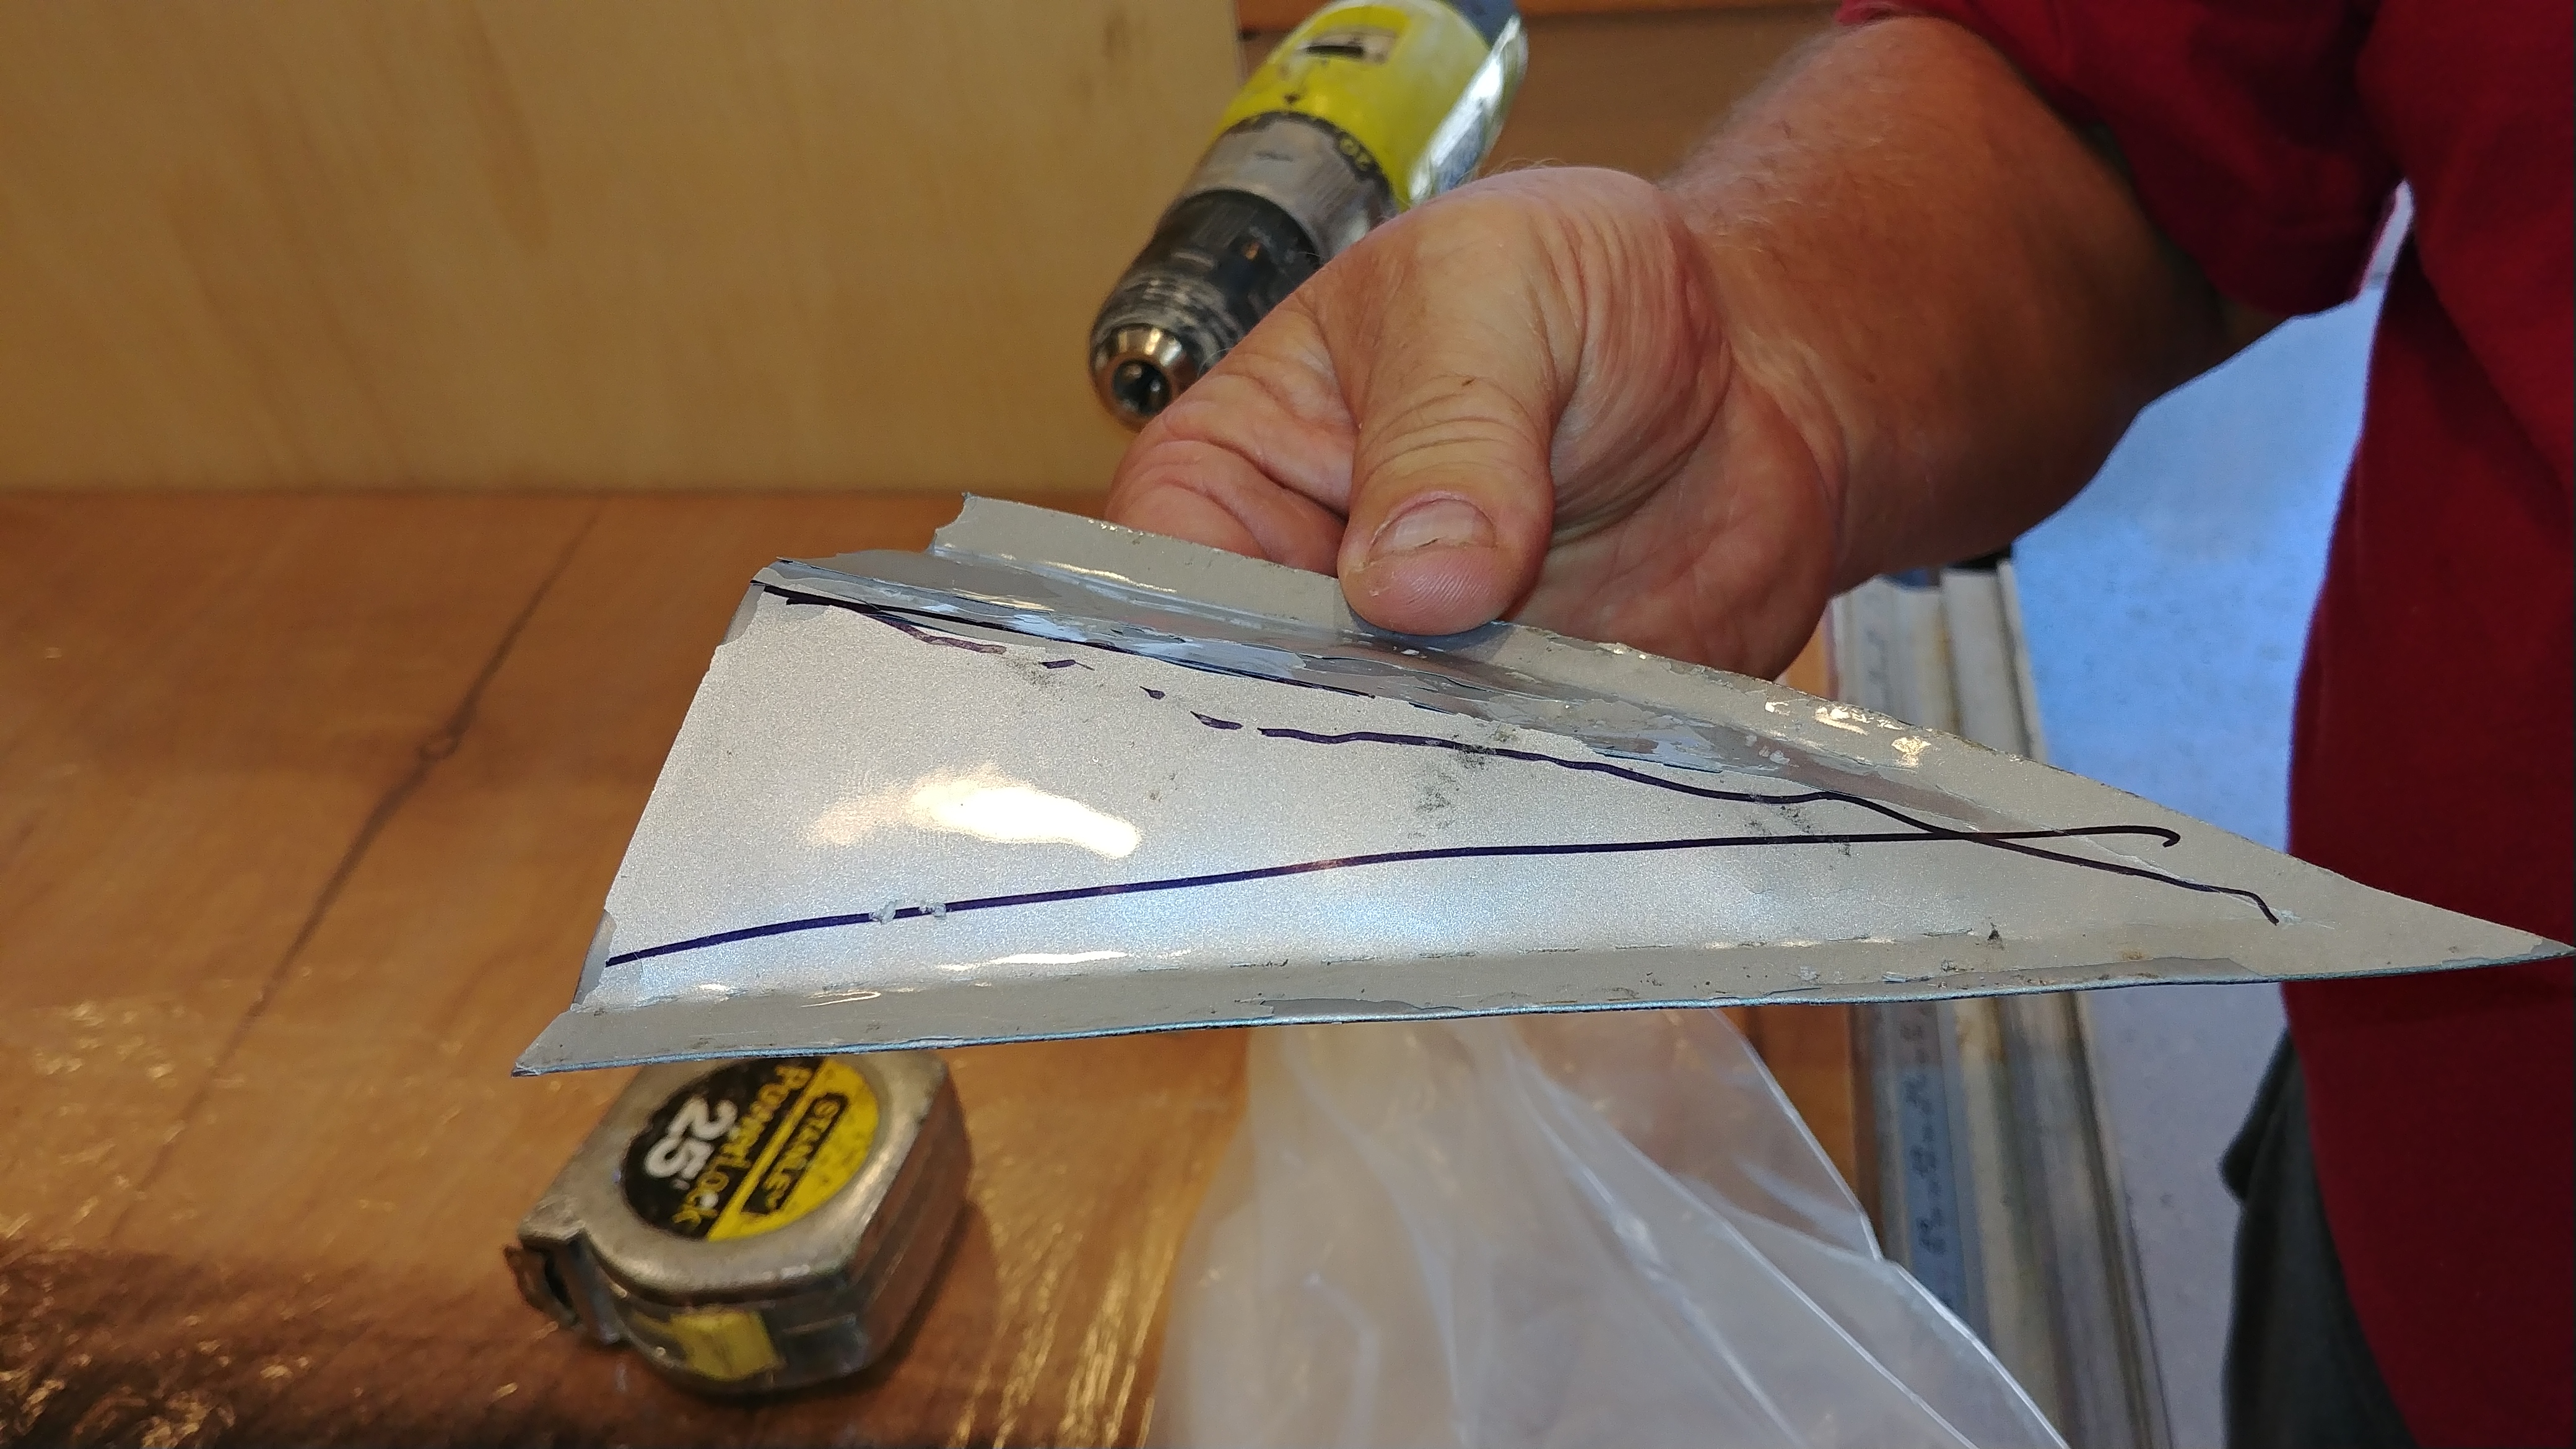
Home-made “roof jack” made from van siding metal cutout during window install. The triangle shape is pointed forward on the roof and the bevel helps prevent any leaks from pressure created by driving fast into the headwind of a rainstorm. (click on any pic to see big/hi res)
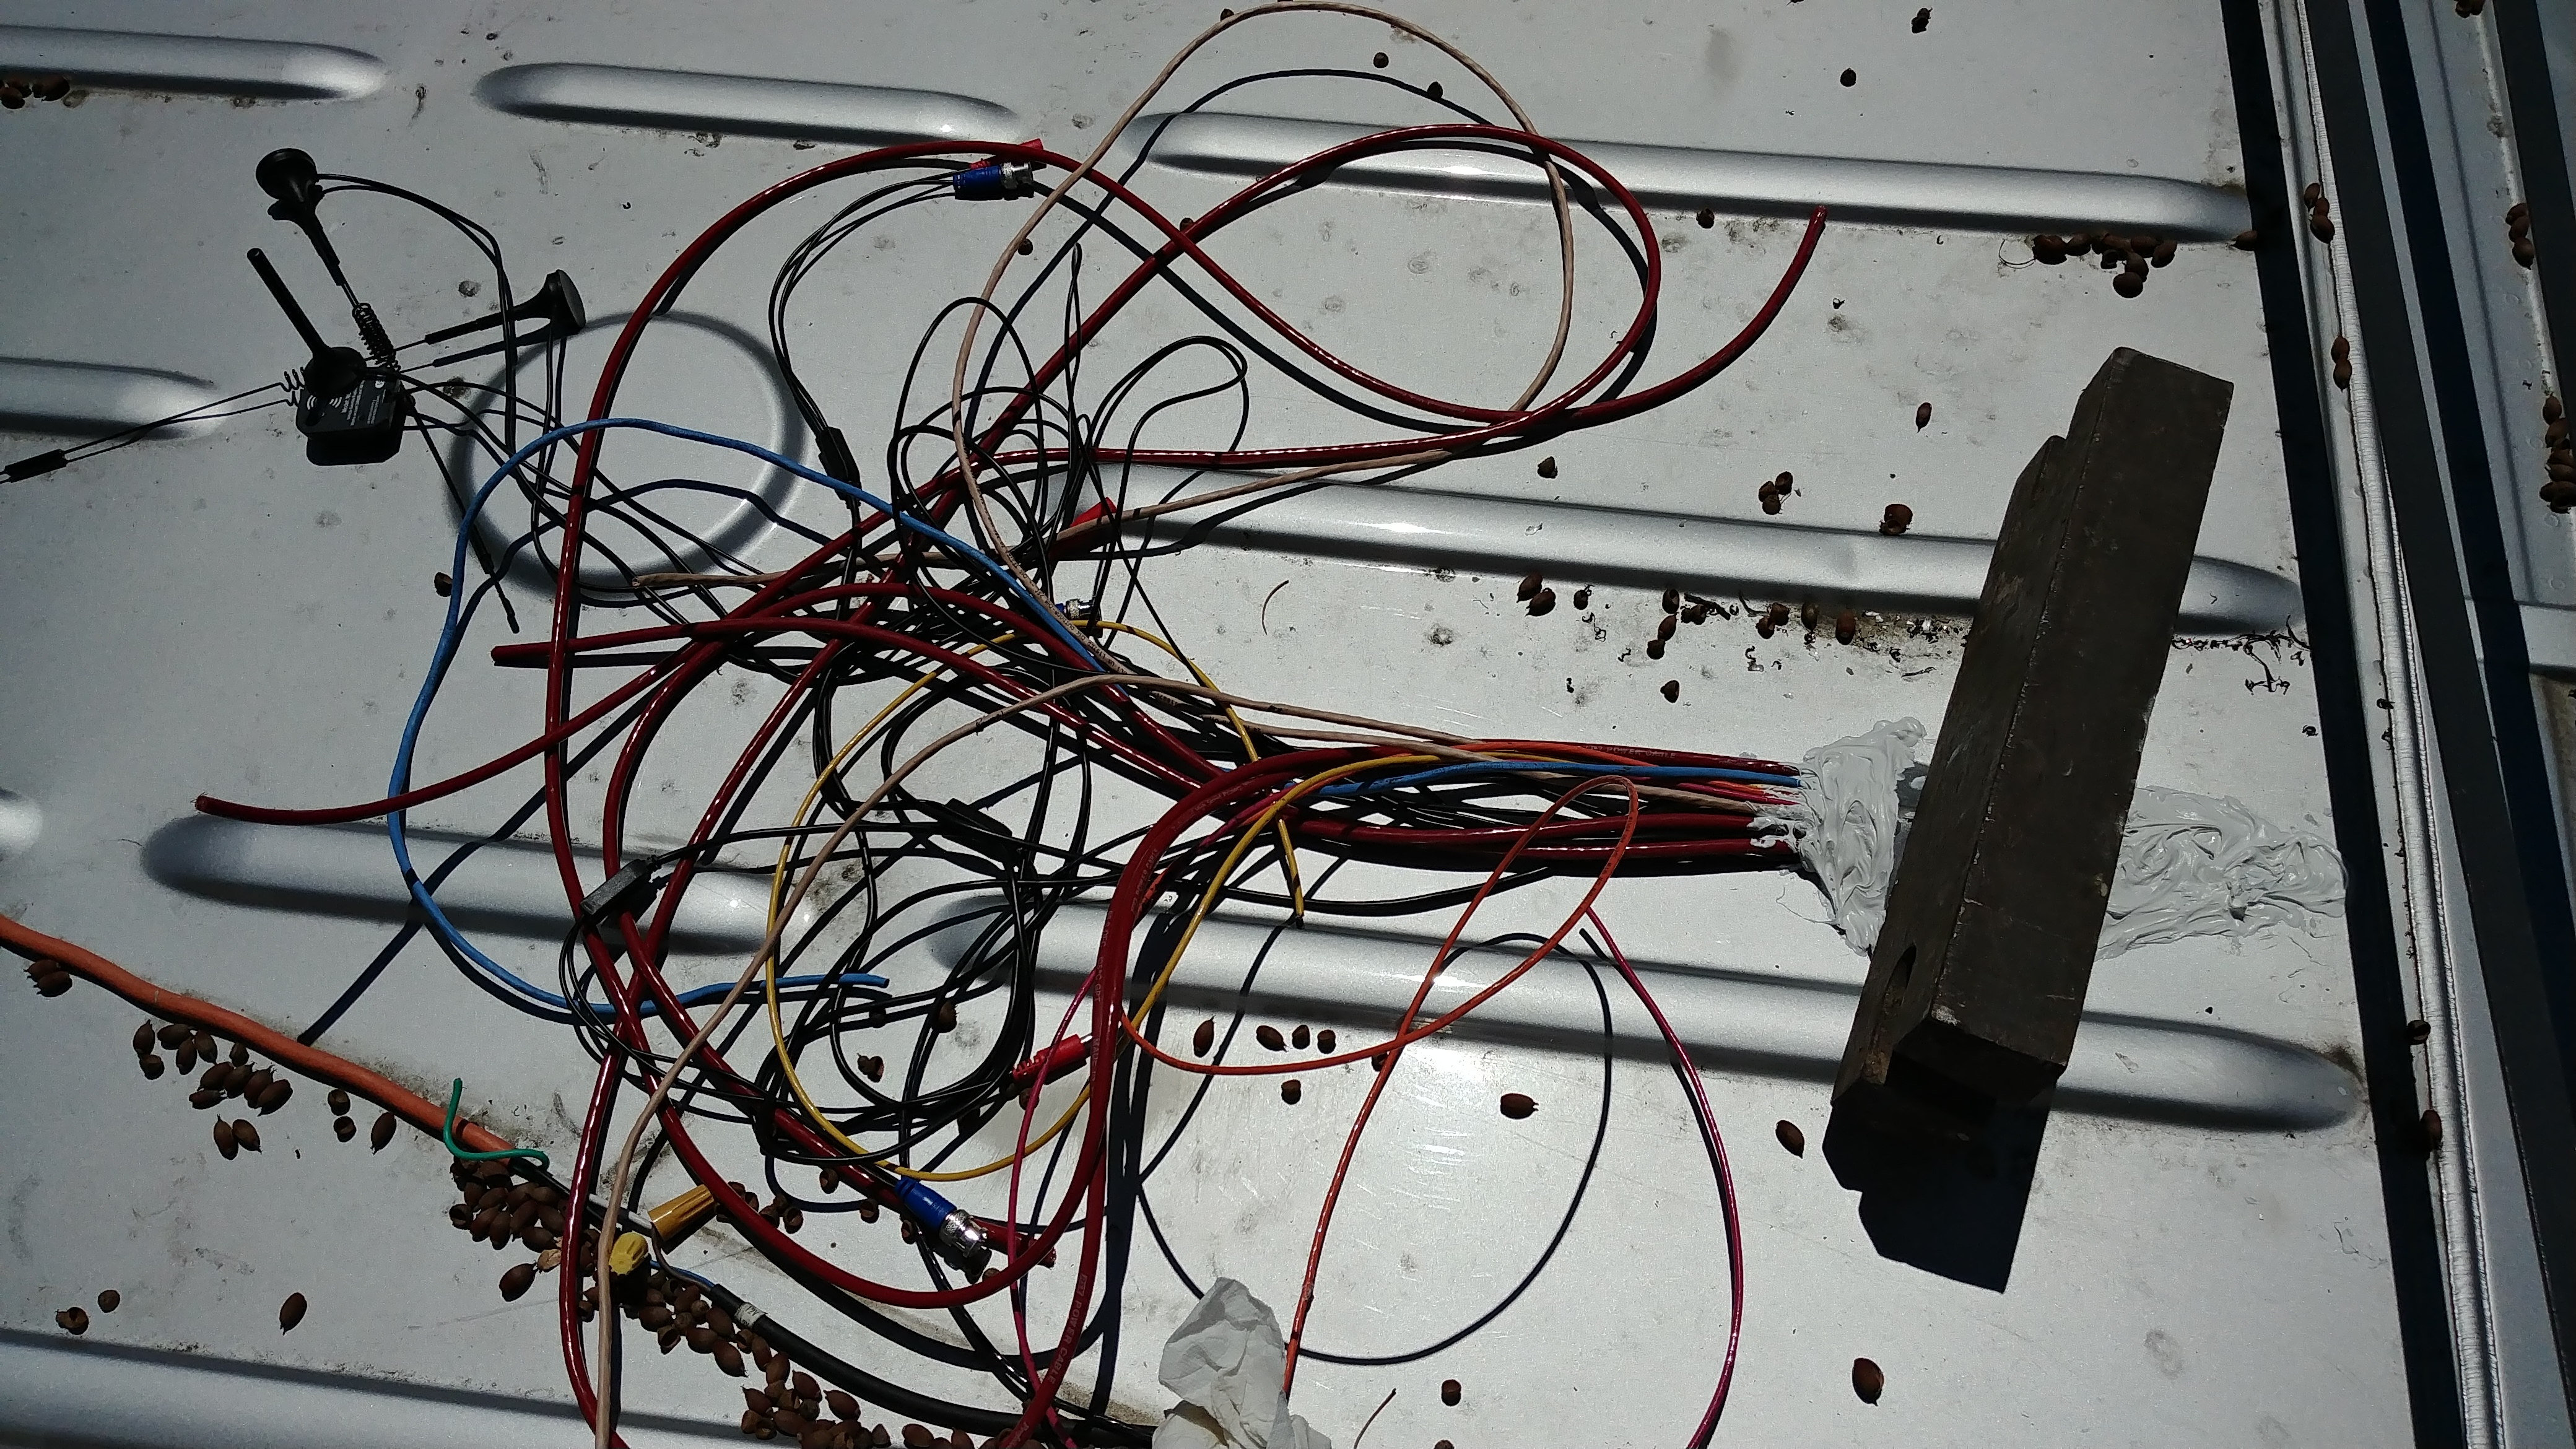
The wires come up thru the roof, fold over toward the rear, and then the ‘roofjack’ is placed over the wires, once copius amounts of Silkaflex are saturating the wires. The square black thing you see is a stage weight holding the roof jack in place overnight while everything dries and cures. WATERTIGHT!
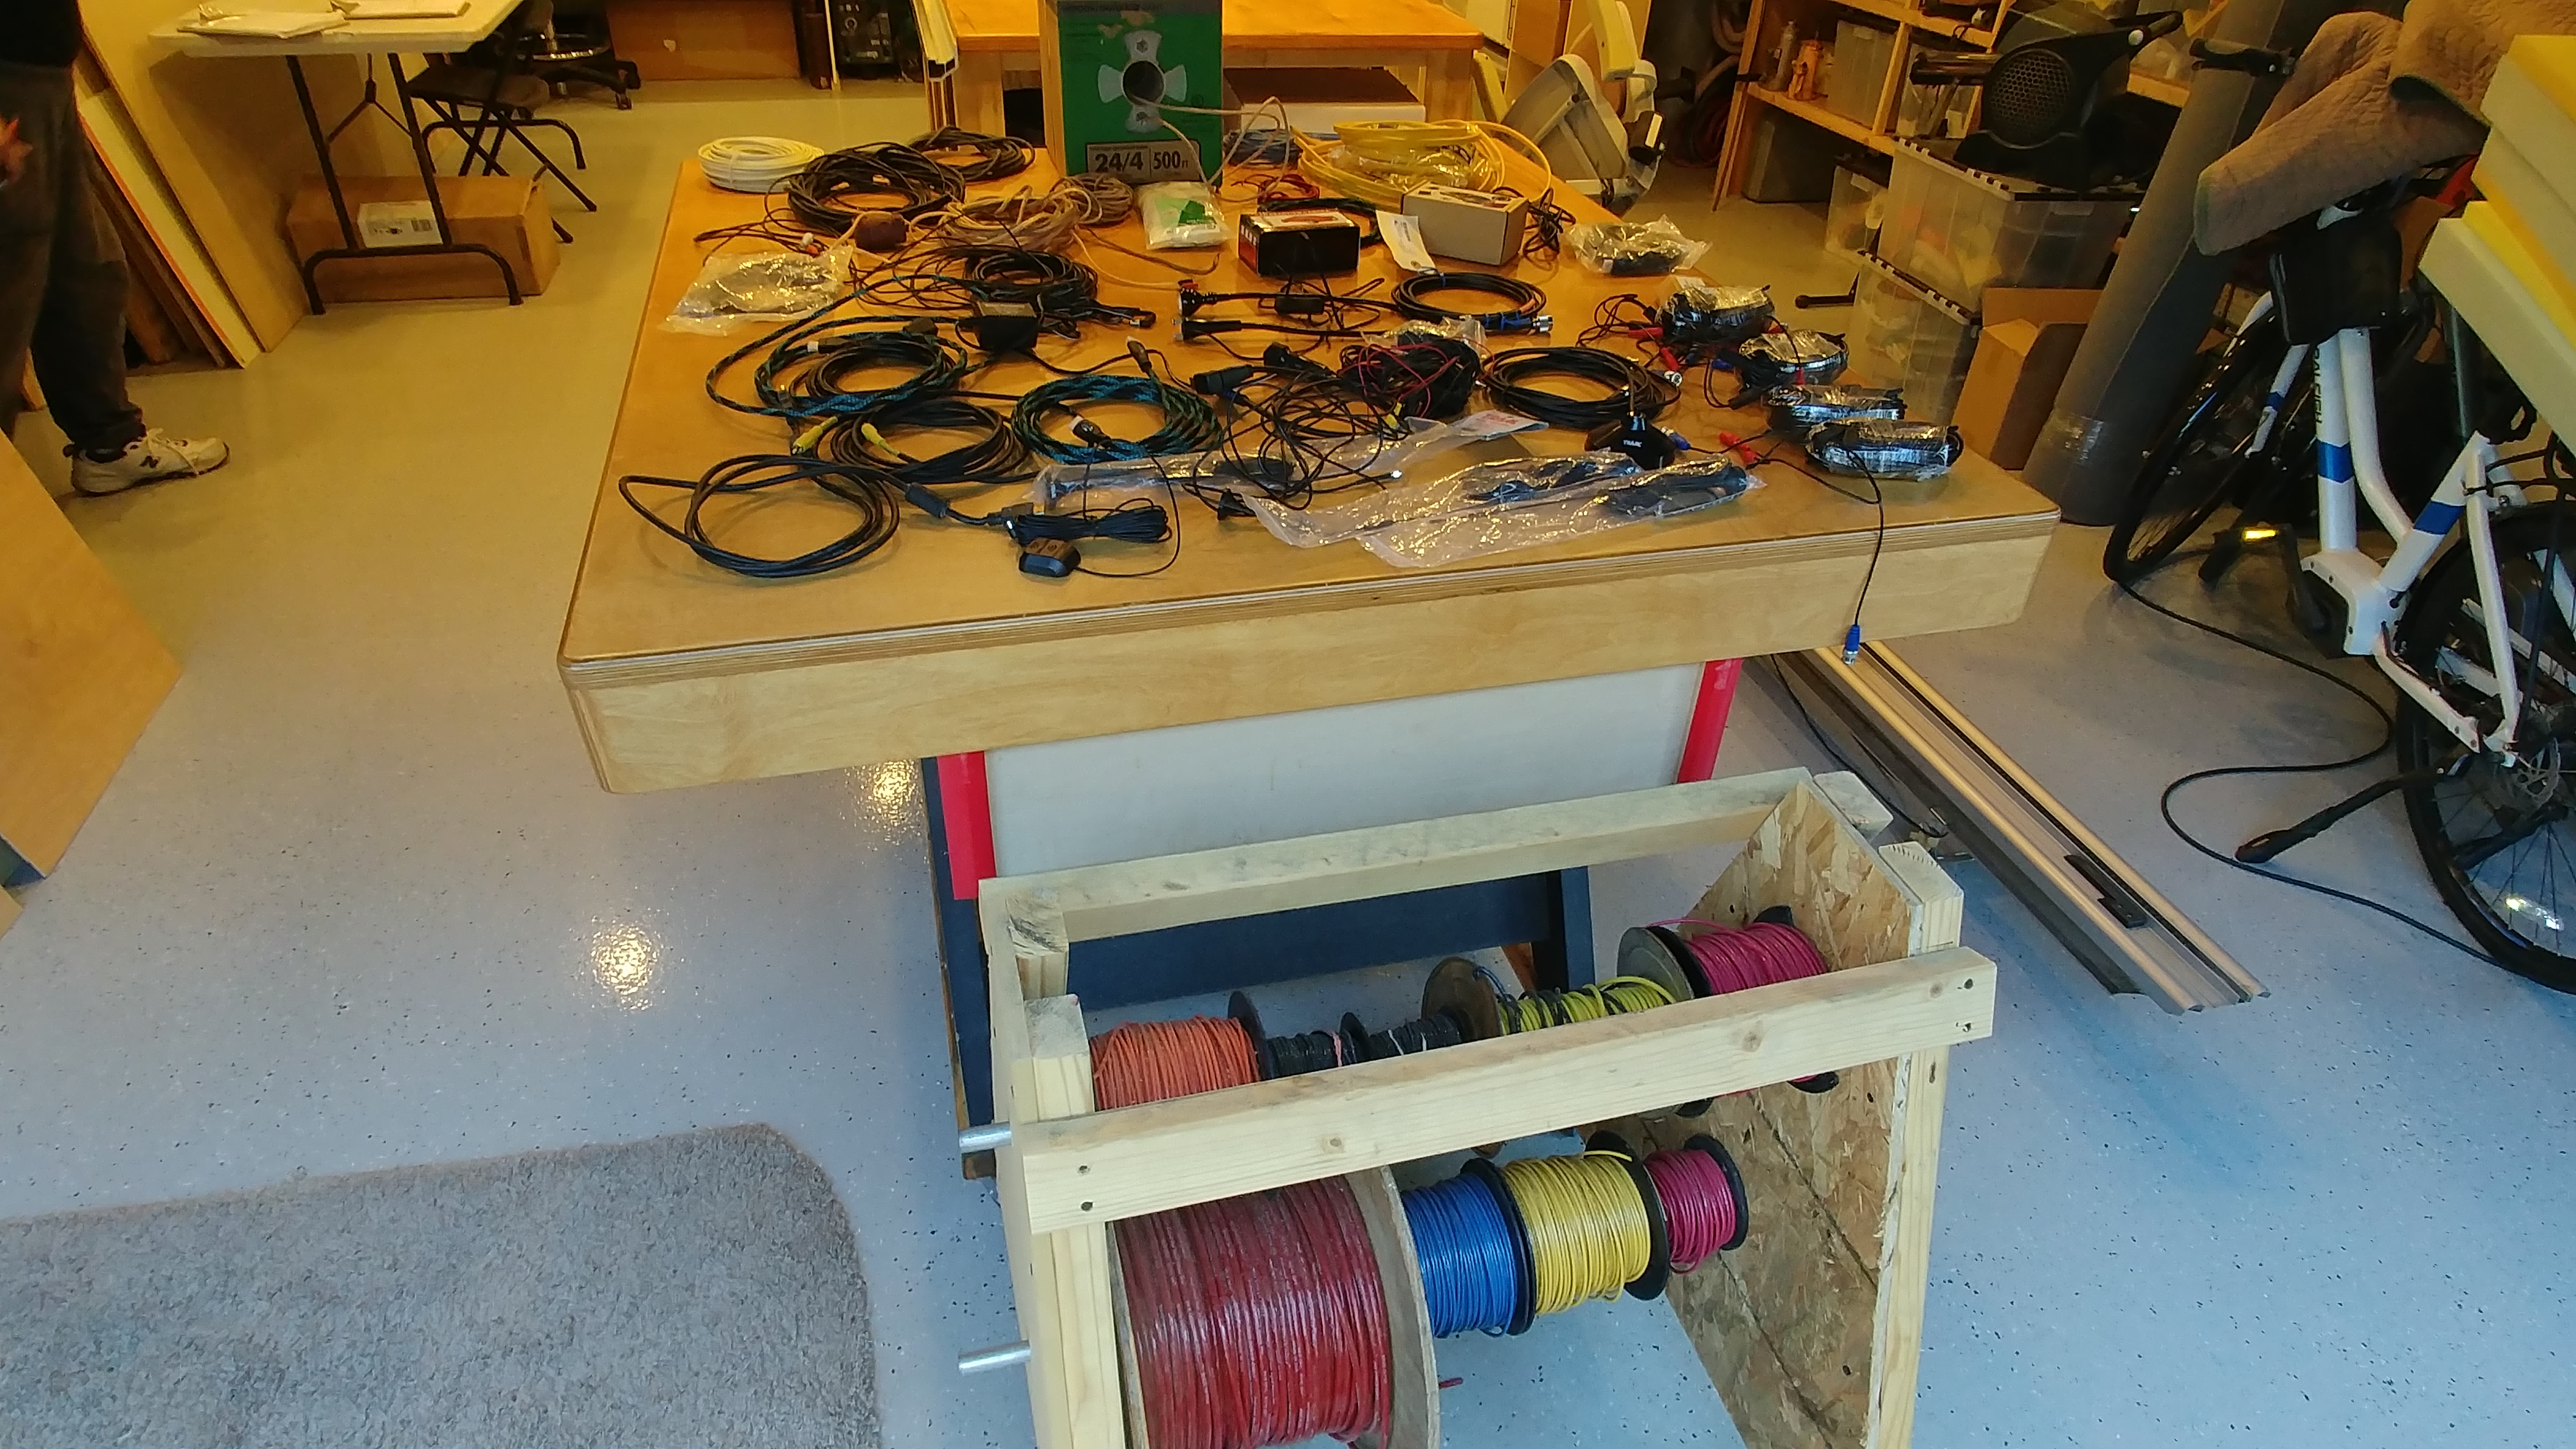
The most common wires you need are 16, 14, and 12 gauge stranded wire. You also need smaller amounts of large gauge wire like 10, 8, and 4 gauge, but you can buy those by the foot once you decide the exact need and length of run. Many of the wires you’ll run will be things like antennas or camera cables (like you see on the bench) that come with the components you buy, and so you don’t need to buy bulk wire for those, as they are very specific, and even have moulded connectors on the ends. (click any pic to see big/hi res. – also, more about ‘switch panel’ wiring can be seen in “Cabinets“)